Last Updated on April 7, 2024 by Tony Manhart
So you’ve always been curious about growing your own vegetables, and potatoes are right at the top of your list. Well, look no further because this step-by-step guide will teach you everything you need to know about growing indeterminate potatoes. From selecting the right variety to planting, caring, and harvesting, we’ve got you covered. By the end of this article, you’ll be well-equipped with the knowledge and confidence to embark on your potato-growing adventure. Get ready to dig in!
Preparing the Soil
Choosing the right location
When selecting a location for planting indeterminate potatoes, it’s important to choose a spot that receives full sun, as potatoes thrive in bright light. Additionally, look for an area with well-draining soil to prevent waterlogging. Avoid planting in low-lying areas where water can accumulate and cause rotting of the potatoes.
Clearing the area
Before planting indeterminate potatoes, it’s crucial to clear the area of any weeds, rocks, or debris. Weeds can compete with the potato plants for nutrients and water, hindering their growth. Removing rocks and debris ensures a smooth planting surface and minimizes obstacles that could impede the growth of the potatoes.
Loosening the soil
Loosening the soil is essential for providing a favorable environment for the potato plants’ root development. You can use a garden fork or a tiller to loosen the soil to a depth of about 8-10 inches. This helps improve aeration and drainage, allowing the roots to access nutrients more easily.

Adding compost or organic matter
Incorporating compost or organic matter into the soil before planting indeterminate potatoes can greatly enhance the soil’s fertility and nutrient content. Compost improves soil structure, increases its water retention capacity, and adds valuable organic nutrients that promote healthy plant growth. Spread a layer of compost or organic matter evenly over the planting area and work it into the soil.
Leveling the soil
After adding compost or organic matter, it’s important to level the soil surface to ensure uniform planting conditions. Use a rake or a garden leveling tool to gently smooth the soil and create an even surface. This enables the potatoes to grow more uniformly and facilitates ease of watering and harvesting.
Selecting Seed Potatoes
Choosing indeterminate potato varieties
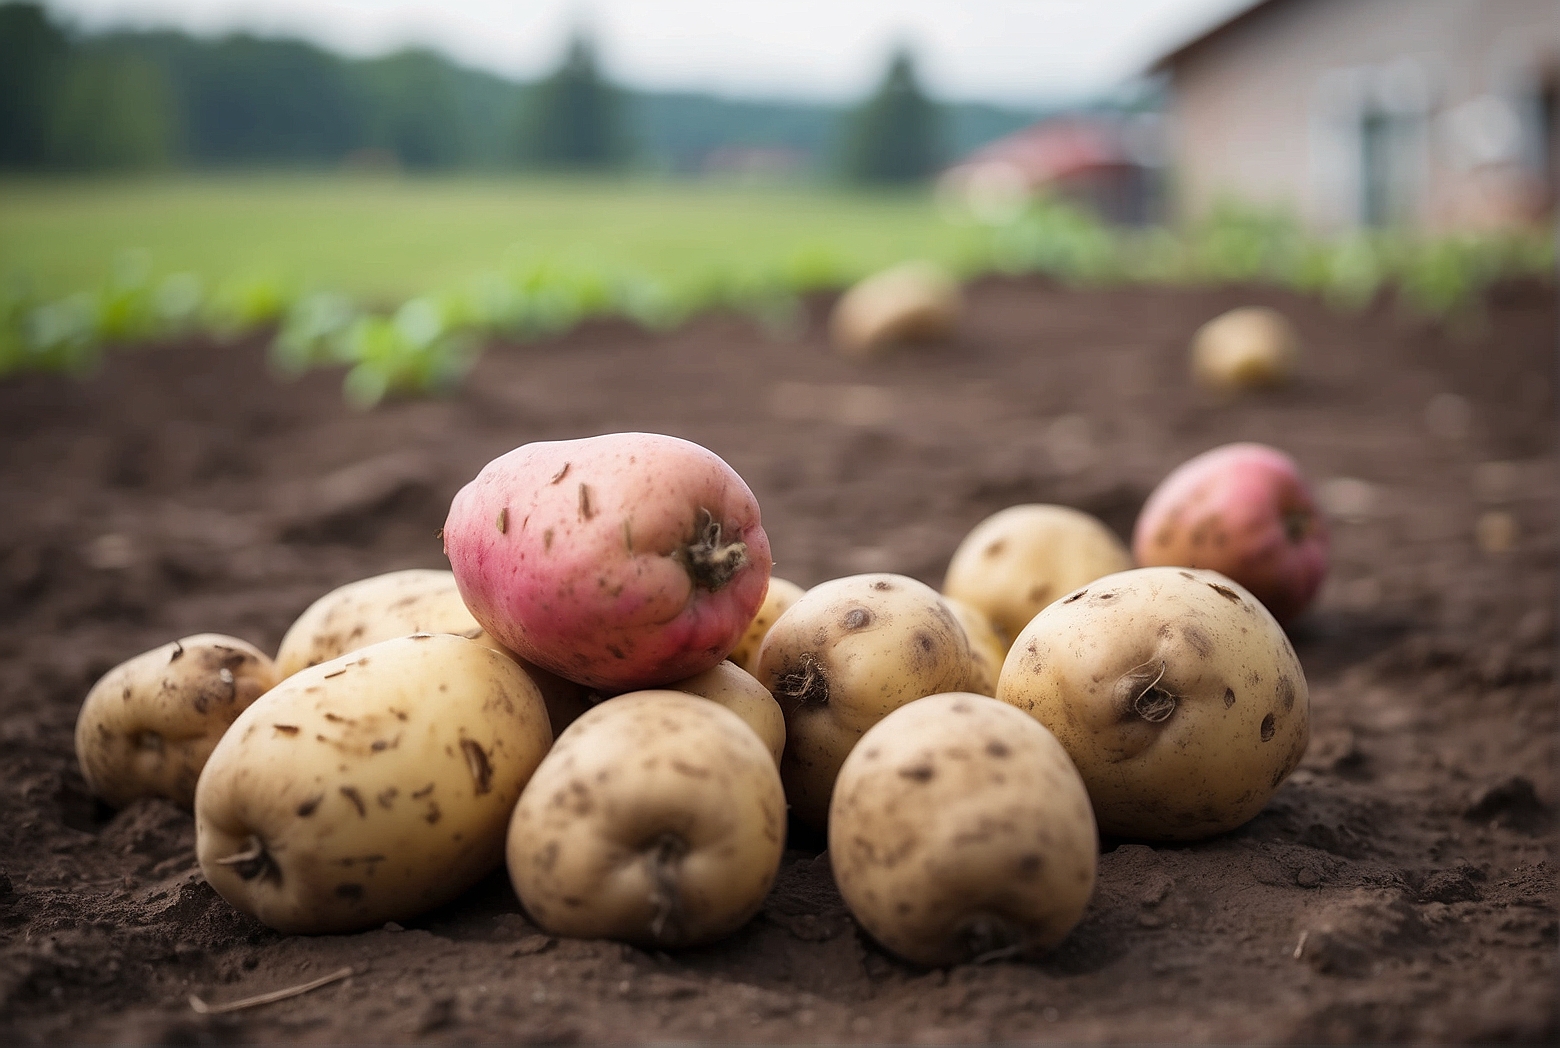
When selecting seed potatoes for indeterminate potato cultivation, opt for Indeterminate varieties. Indeterminate varieties continue growing and producing tubers as long as the plant stays healthy, resulting in a prolonged harvest period. Some popular indeterminate potato varieties include Russet, Yukon Gold, and Red Pontiac. Choose the varieties that suit your taste preferences and growing conditions.
Locating certified seed potatoes
To ensure the quality and health of your seed potatoes, it’s best to obtain certified seed potatoes from reputable sources. Certified seed potatoes undergo strict quality control measures, ensuring they are disease-free and have a higher chance of successful growth. Visit local gardening stores or order from trusted online suppliers to find certified seed potatoes.

Inspecting the seed potatoes
Before planting, carefully inspect your seed potatoes for any signs of damage, rot, or disease. Discard any potatoes that appear discolored, soft, or infected. It’s crucial to start with healthy seed potatoes as this greatly reduces the risk of introducing diseases to your soil and future crops.
Cutting and curing the seed potatoes
Depending on the size of your seed potatoes, you may need to cut them into smaller pieces before planting. Each piece must contain at least one healthy eye or sprout, as this is where the new potato plant will emerge from. After cutting, allow the seed potatoes to air dry for a few days to form a protective callus. Curing the seed potatoes reduces the likelihood of rotting once they are planted in the soil.
Planting Indeterminate Potatoes
Determining the planting time
The timing of planting indeterminate potatoes is crucial for their successful growth. Typically, potatoes are planted in early spring, once the soil has warmed up and the threat of frost has passed. However, this can vary depending on your climate and the specific potato variety. Consult a local gardening expert or refer to the seed package instructions for the recommended planting time in your region.
Preparing seed potato pieces
Before planting the seed potatoes, it’s important to prepare the cut pieces for optimal growth. Ensure each potato piece has at least one sprout or eye. Allow the cut sides to air dry briefly, which helps prevent rotting and allows the cut surfaces to heal. The curing process usually takes around 1-2 days.
Creating furrows or mounds
To plant indeterminate potatoes, you can create either furrows or mounds in the prepared soil. Furrows are long, shallow trenches, while mounds are raised hills of soil. Both methods have their advantages. Furrows provide better soil drainage, while mounds allow for easier hilling and soil protection. Choose the method that suits your preferences and growing conditions.
Spacing and planting the seed potatoes
While planting indeterminate potatoes, it’s crucial to provide adequate spacing between the seed potatoes to allow for optimal growth and prevent competition. Space the seed potatoes about 12-15 inches apart within the furrow or mound. Plant the seed potatoes with the sprouts or eyes facing upwards, burying them about 4-6 inches deep in the soil.
Watering and Mulching
Providing adequate water
Watering is essential for the healthy growth and development of indeterminate potatoes. Keep the soil consistently moist but not waterlogged. The ideal method is to provide approximately 1-2 inches of water per week, either through rainfall or irrigation. Monitor the soil moisture regularly and adjust the watering schedule as needed to prevent drought stress.
Avoiding overwatering
While it’s important to provide adequate water, overwatering can lead to waterlogged soil, which can cause root rot and other diseases. To prevent overwatering, always check the moisture level of the soil before watering. Stick your finger about an inch into the soil, and if it feels moist, hold off on watering until it dries out slightly.
Applying mulch to conserve moisture
Mulching is an effective technique to conserve moisture in the soil, reduce weed growth, and maintain a more stable soil temperature. Once the indeterminate potato plants have emerged and are about 4-6 inches tall, apply a layer of organic mulch, such as straw or wood chips, around the plants. Mulching also helps prevent soil erosion and improves overall soil health.
Choosing the right mulch material
When choosing a mulch material for indeterminate potatoes, opt for organic options that break down over time and contribute to the soil’s nutrient content. Straw, shredded leaves, or compost are excellent choices. Avoid using fresh grass clippings as mulch, as they can form a dense mat that prevents proper airflow and may lead to rotting.
Caring for Indeterminate Potatoes
Hilling the plants
Hilling indeterminate potato plants refers to the practice of gradually adding soil around the stem as the plants grow. This encourages additional tuber formation along the stem and helps prevent greening of the potatoes from exposure to sunlight. When the plants reach a height of about 6-8 inches, gently mound soil around the base, covering about one-third of the stem.
Controlling weeds
Weeds can compete with indeterminate potato plants for nutrients, water, and sunlight. Regularly inspect the planting area for weeds and remove them by hand or using appropriate gardening tools. Applying mulch around the plants helps suppress weed growth, but some manual weeding may still be necessary. Be careful not to disturb the potato plants’ shallow root systems while weeding.
Fertilizing the plants
Indeterminate potato plants benefit from regular fertilization to ensure optimal growth and tuber development. Apply a balanced, organic fertilizer with a nitrogen-phosphorus-potassium (NPK) ratio of approximately 10-10-10 or similar. Follow the package instructions for the recommended application rate and frequency. Avoid excessive fertilization, as it can lead to lush foliage growth at the expense of tuber development.
Monitoring for pests and diseases
Regularly monitor your indeterminate potato plants for signs of pests and diseases. Common pests that can affect potato plants include aphids, potato beetles, and nematodes. If you notice any signs of pest infestation, consult a local gardening expert for suitable organic pest control methods. Keep an eye out for diseases such as late blight or early blight, and promptly remove any infected plant parts to prevent the spread.
Pruning indeterminate potato plants
Pruning indeterminate potato plants is not necessary as it may hinder their growth and tuber development. Unlike determinate potato varieties, indeterminate plants continuously produce new foliage throughout the growing season. Pruning removes healthy leaves and reduces the plants’ ability to photosynthesize, which is essential for energy production.
Harvesting Indeterminate Potatoes
Monitoring the plant maturity
Indeterminate potato plants typically take around 80-100 days to reach maturity and are ready for harvest. Keep an eye on the plant growth and observe when the foliage starts to yellow and decline. This is an indication that the potatoes have reached maturity and are ready to be harvested.
Determine the harvest time
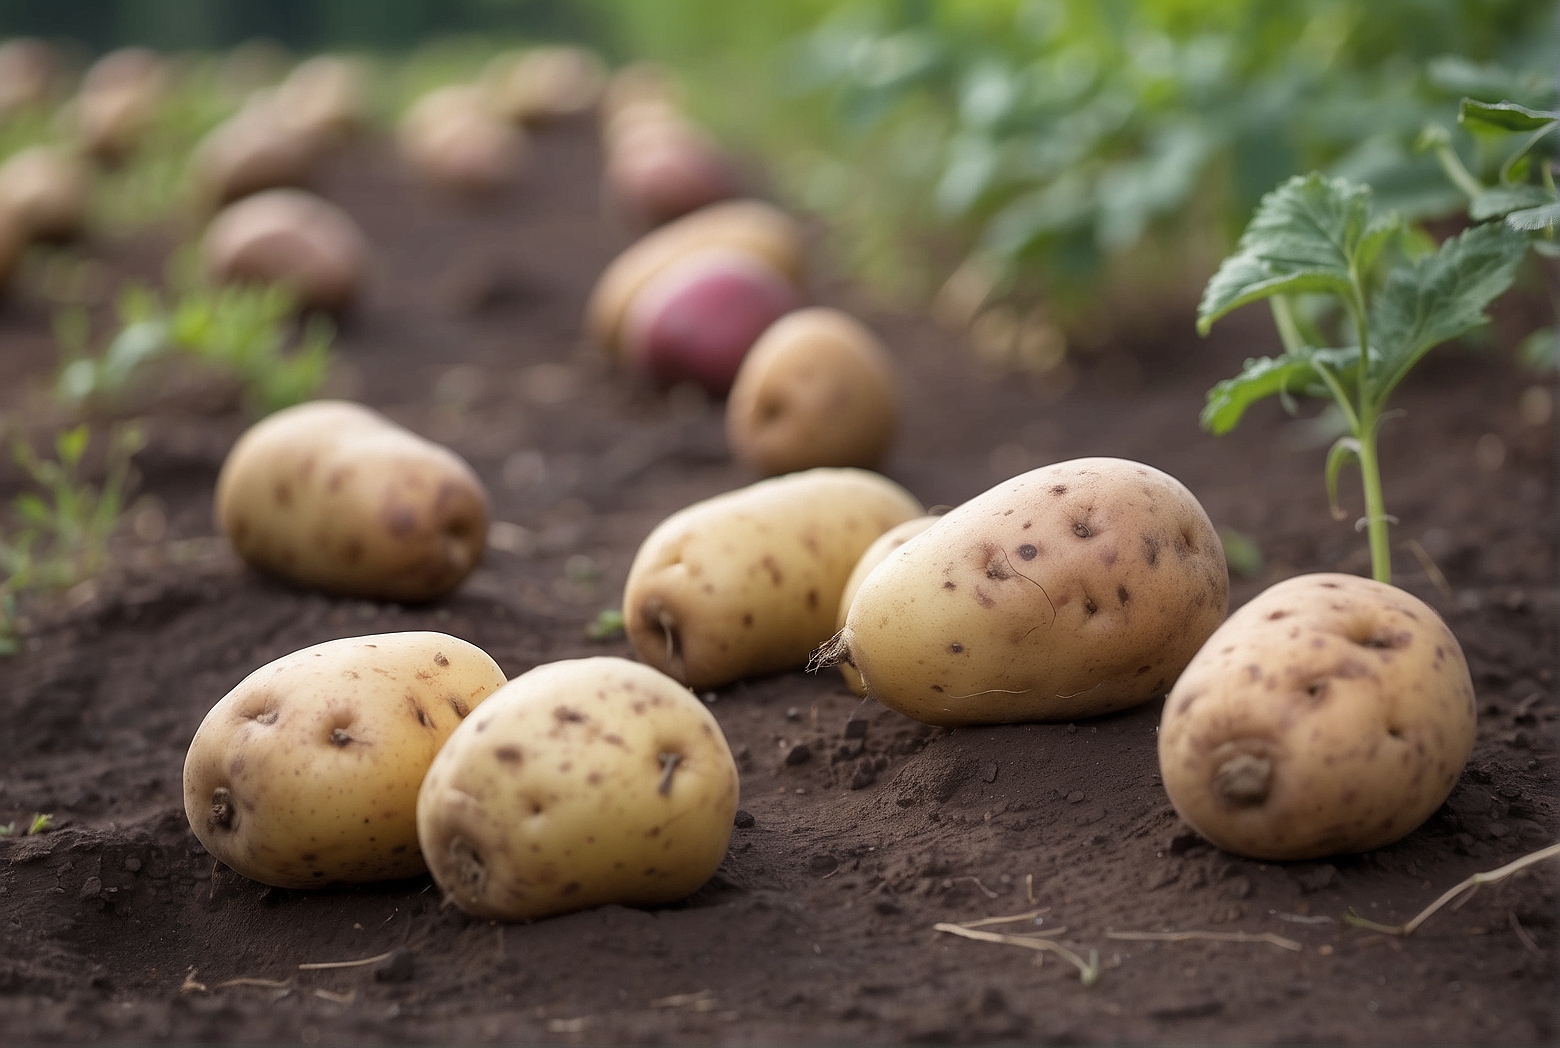
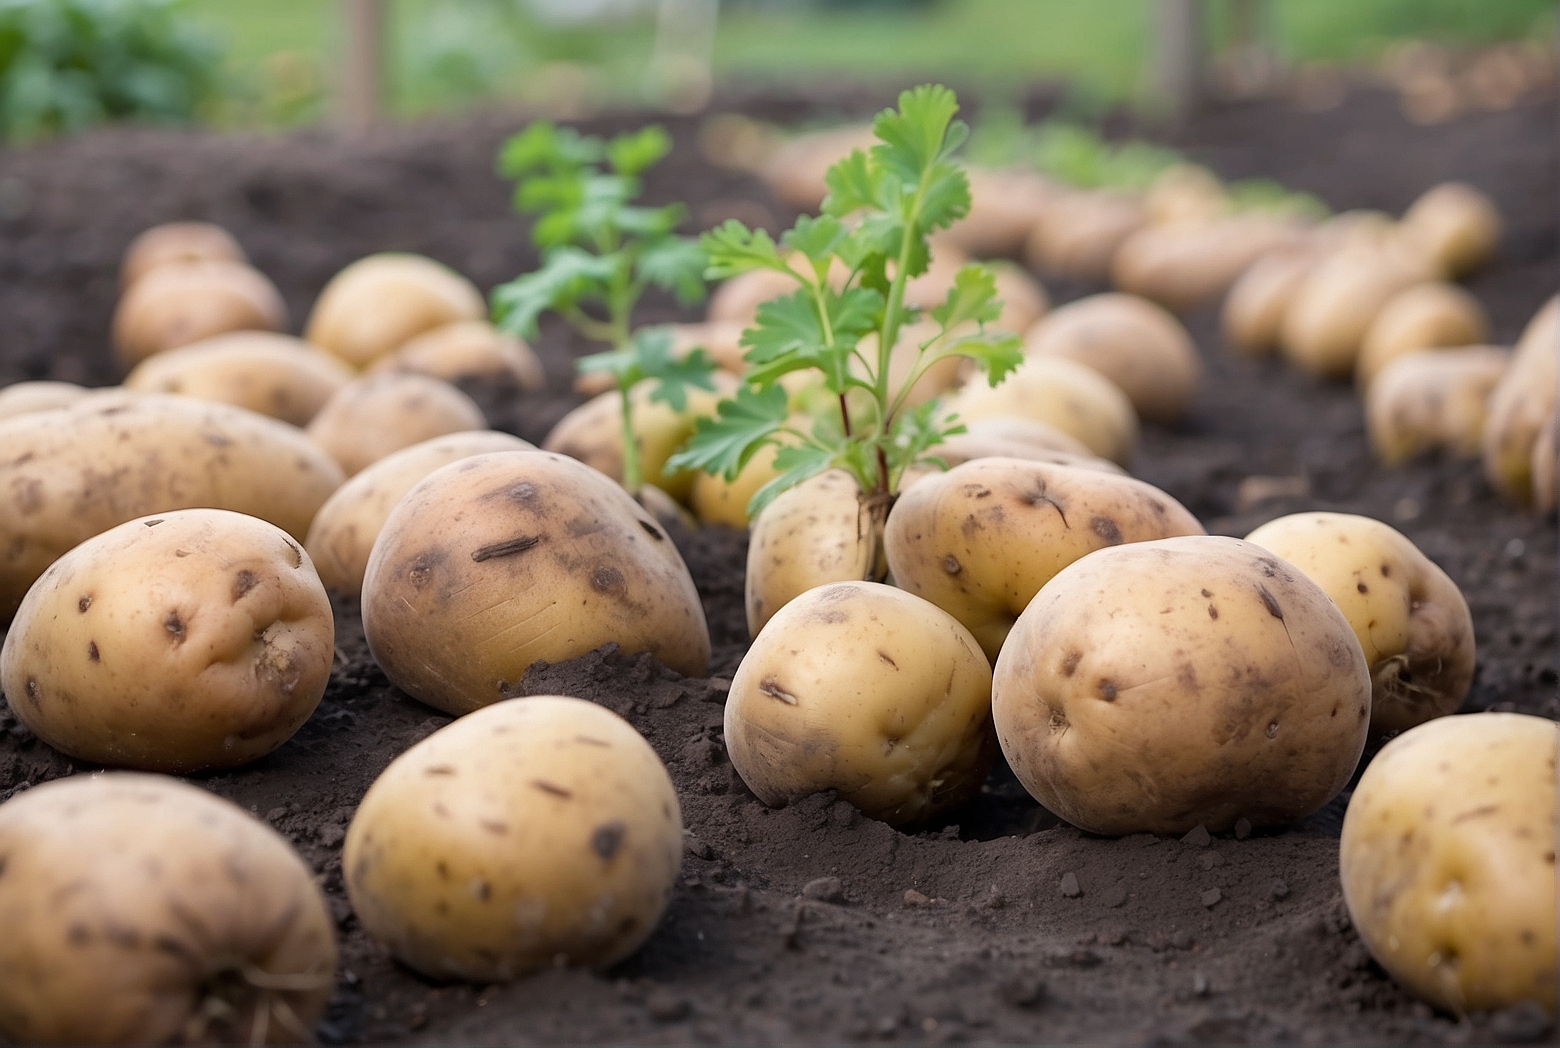
Once the foliage has yellowed and dried, it’s time to harvest the indeterminate potatoes. Gently dig around the plant using a garden fork or shovel, being careful not to damage the tubers. Harvesting can be done gradually as the tubers reach the desired size, or you can harvest the entire plant at once. Choose the method that suits your preferences and the storage capacity.
Gently digging out the potatoes
When digging out the indeterminate potatoes, be gentle to avoid bruising or cutting them. Lift the plant gently from the soil and remove any excessive dirt clinging to the tubers. Handle the potatoes carefully to prevent any damage that could affect their storage quality.
Curing and storing the harvested potatoes
After harvesting, it’s essential to cure the potatoes for long-term storage. Cure the potatoes in a cool, dark, and well-ventilated area with a temperature of around 45-55 degrees Fahrenheit (7-13 degrees Celsius). Allow the potatoes to cure for approximately two weeks, during which their skins will thicken, protecting them during storage. Store the cured potatoes in a cool, dry, and dark place to prevent sprouting and spoilage.
Dealing with Common Issues
Addressing potato scab
Potato scab is a common issue that affects the appearance and marketability of potatoes. To minimize the risk of scab, avoid planting potatoes where scab has been previously observed. Additionally, maintain proper soil pH levels of around 5.2-6.0 and avoid over-fertilizing with excessive nitrogen. If scab does appear, you can peel the affected areas before cooking or using the potatoes.
Preventing fungal diseases
Fungal diseases, such as late blight and early blight, can greatly impact potato plants. To prevent these diseases, practice good garden hygiene by removing and destroying infected plant parts promptly. Avoid overhead watering, as moisture on the foliage creates favorable conditions for fungal growth. Applying a copper-based fungicide can also help minimize the risk of fungal diseases.
Managing potato pests
Potato pests, like aphids and potato beetles, can cause significant damage to potato plants if left uncontrolled. Implement integrated pest management practices, such as regularly inspecting the plants for pests and manually removing them as needed. You can also introduce predatory insects or apply organic insecticides to manage pest populations. Crop rotation is another effective method to reduce pest infestation.
Dealing with nutrient deficiencies
Potato plants can suffer from nutrient deficiencies, such as nitrogen or potassium deficiencies, which can impact their growth and productivity. To address nutrient deficiencies, conduct a soil test to identify the specific nutrient deficiencies and amend the soil accordingly. Apply organic fertilizers or nutrient-rich compost to replenish the lacking nutrients and ensure healthy plant growth.
Crop Rotation and Succession Planting
Understanding the importance of crop rotation
Crop rotation is an essential practice in potato cultivation to prevent the buildup of pests and diseases in the soil. Rotate the location of your potato plants every year, ideally with unrelated crops, such as legumes or brassicas. This helps break the life cycles of pests and diseases specific to potatoes and promotes overall soil health.
Planning for succession planting
Succession planting involves planting multiple batches of potato plants throughout the growing season, ensuring a continuous supply of fresh potatoes. Determine the desired harvest interval and stagger your planting accordingly. This way, you can have a continuous harvest throughout the growing season and make the most of your indeterminate potato plants.
Troubleshooting Problems
Identifying and solving issues with yellowing leaves
Yellowing leaves in indeterminate potato plants can indicate various issues, such as nutrient deficiencies, pest infestation, or diseases. Conduct a thorough inspection to identify the underlying cause. Address nutrient deficiencies by providing appropriate fertilization, manage pests through integrated pest management techniques, and control diseases by removing infected plant parts and applying suitable organic treatments.
Addressing potato plant wilting
Wilting in potato plants can be a sign of water stress or a more severe underlying issue. Before taking action, ensure the soil moisture is adequate and adjust the watering accordingly. If wilting persists despite sufficient water, check for potential pest infestation, diseases, or root damage. Address these issues promptly to prevent further wilting and potential crop loss.
Dealing with stunted growth
Stunted growth in indeterminate potato plants can be attributed to several factors, including nutrient deficiencies, unfavorable environmental conditions, or pest and disease infestation. Conduct a thorough assessment to identify the specific cause and take appropriate measures. Address nutrient deficiencies, optimize environmental conditions, manage pests and diseases, and ensure proper irrigation to promote healthy plant growth.
Solving problems with abnormal potato tuber shape
Abnormal potato tuber shape, such as misshapen or knobby potatoes, can stem from irregular growth caused by fluctuations in soil moisture, temperature, nutrient imbalances, or pests and diseases. Maintain consistent soil moisture levels, provide adequate fertilization with balanced nutrients, manage pests and diseases effectively, and regulate environmental conditions to promote uniform tuber growth.
Tips for Maximizing Yield and Flavor
Proper plant spacing
To maximize the yield and flavor of your indeterminate potato plants, ensure you provide adequate space between the plants during planting. Proper spacing allows each plant to develop a healthy root system, access sufficient nutrients, and receive adequate sunlight, resulting in robust growth and increased tuber production.
Regularly monitoring soil moisture
Consistently monitoring soil moisture levels is crucial for indeterminate potato plants’ health and productivity. Check the soil moisture regularly by inserting your finger into the soil, and water as needed to maintain consistent moisture. Avoid overwatering or allowing the soil to dry out excessively, as both scenarios can hinder plant growth and reduce tuber yield.
Practicing good crop management
Good crop management practices, such as regular weeding, monitoring for pests and diseases, and providing proper nutrition, greatly contribute to maximizing yield and flavor. Stay vigilant in controlling weeds, promptly address pest and disease issues, and follow a regular fertilization schedule. Additionally, maintain good overall garden hygiene to prevent the spread of diseases and maintain a healthy growing environment.
Harvesting at the right time
To maximize the flavor and quality of your harvested potatoes, ensure you harvest them at the right time. Harvesting too early may result in immature and less flavorful tubers, while harvesting too late can lead to oversize tubers with diminished flavor. Monitor the foliage yellowing and harvest the potatoes once the plants have reached maturity, ensuring optimum taste and texture.
By following these step-by-step guidelines and implementing best practices for growing indeterminate potatoes, you can enjoy a successful and abundant potato harvest. With proper care and attention throughout each stage of the growing process, you’ll be rewarded with delicious, homegrown potatoes that you can savor and share with family and friends. Happy potato growing!
Tony Manhart is a passionate gardener who has been tending to gardens for over 20 years. He takes pride in creating beautiful outdoor spaces with plants, trees, and shrubs that can thrive in any environment. He loves to share his knowledge with others and has taught classes on gardening basics and advanced techniques. He is committed to sustainability, using natural and organic methods to create and maintain gardens. He also works with local organizations to create green spaces for communities. When he’s not gardening, Tony enjoys hiking, reading, and spending time with his family.


