Last Updated on March 29, 2024 by Tony Manhart
So you’ve got yourself a ZZ plant and now you want to learn how to propagate it in water? Well, you’ve come to the right place! In this step-by-step guide, we’ll walk you through the process of propagating your ZZ plant in water, from selecting the right cuttings to caring for them until they develop roots. Whether you’re a beginner gardener or simply looking to expand your plant collection, this article will provide you with all the information you need to successfully propagate your ZZ plant in water. Let’s get started!
Step 1: Select a Healthy ZZ Plant Cutting
When propagating a ZZ plant in water, it is crucial to start with a healthy cutting. Choose a mature ZZ plant with vibrant, green leaves and a sturdy stem. Look for a stem with at least two leaves, as this will provide enough foliage for the cutting to continue growing. Additionally, ensure that the cutting is free from diseases or pests to prevent any issues during propagation.
Step 2: Prepare the Equipment and Materials
Before starting the propagation process, gather the necessary tools and materials. You will need sharp and clean shears to make a precise and clean cut. A clear glass jar or vase is needed to hold the water for the cutting to root. It is recommended to use distilled or filtered water for propagation as it helps prevent mineral buildup. Additionally, consider using a root growth hormone, which can be found at garden centers, to encourage faster root development.
Step 3: Take the Cutting
To begin the process, it is essential to take a clean cutting from the ZZ plant. Start by sanitizing the shears by wiping them with rubbing alcohol. This helps prevent the spread of any potential diseases or pests. Select a healthy stem and cut it just below a node, which is where leaves grow from. Make a clean and diagonal cut to maximize the surface area for water absorption. Remove any lower leaves on the cutting, leaving only a few at the top.

Step 4: Allow the Cutting to Callus
After taking the cutting, it’s important to let it callus before placing it in water. Find a cool and dry location where the cutting can sit undisturbed for about 24-48 hours. During this time, the cutting will form a protective layer, known as a callus, over the cut area. This callus helps prevent rot and facilitates the development of roots.
Step 5: Prepare the Water
While the cutting calluses, it’s time to prepare the water for propagation. Fill the glass jar or vase with distilled or filtered water, leaving enough space for the cutting to be submerged without overcrowding it. It is essential to change the water every week to prevent stagnation and bacterial growth. Keeping the water fresh ensures a healthy environment for root development.
Step 6: Submerge the Cutting
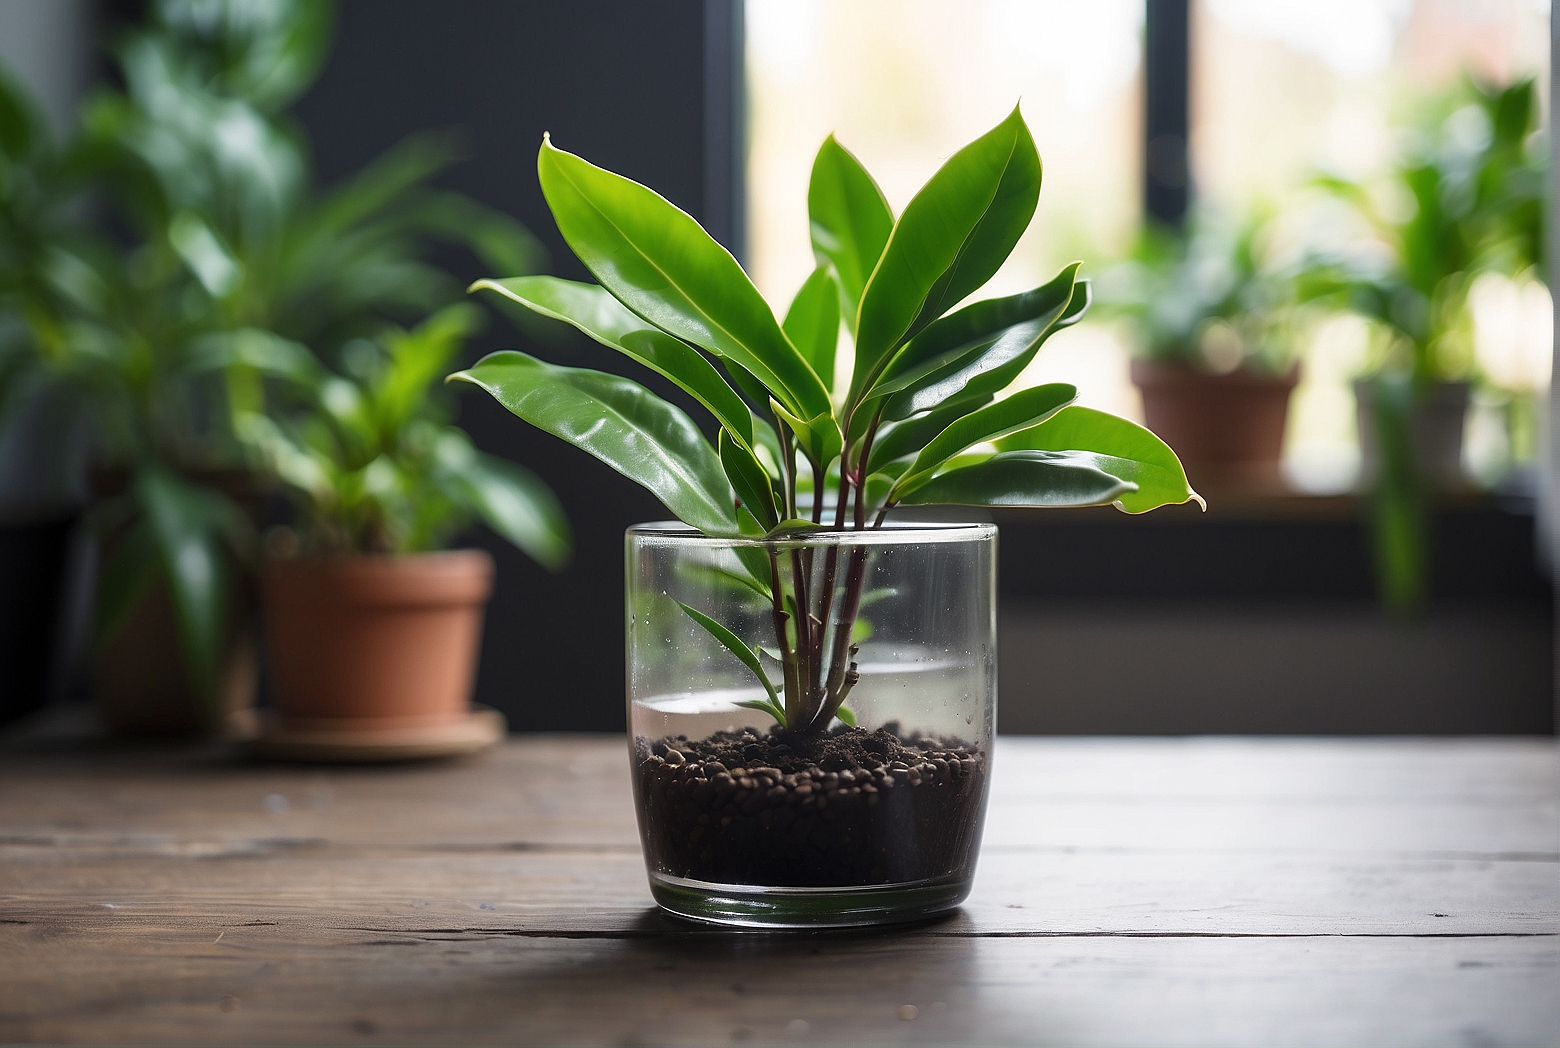
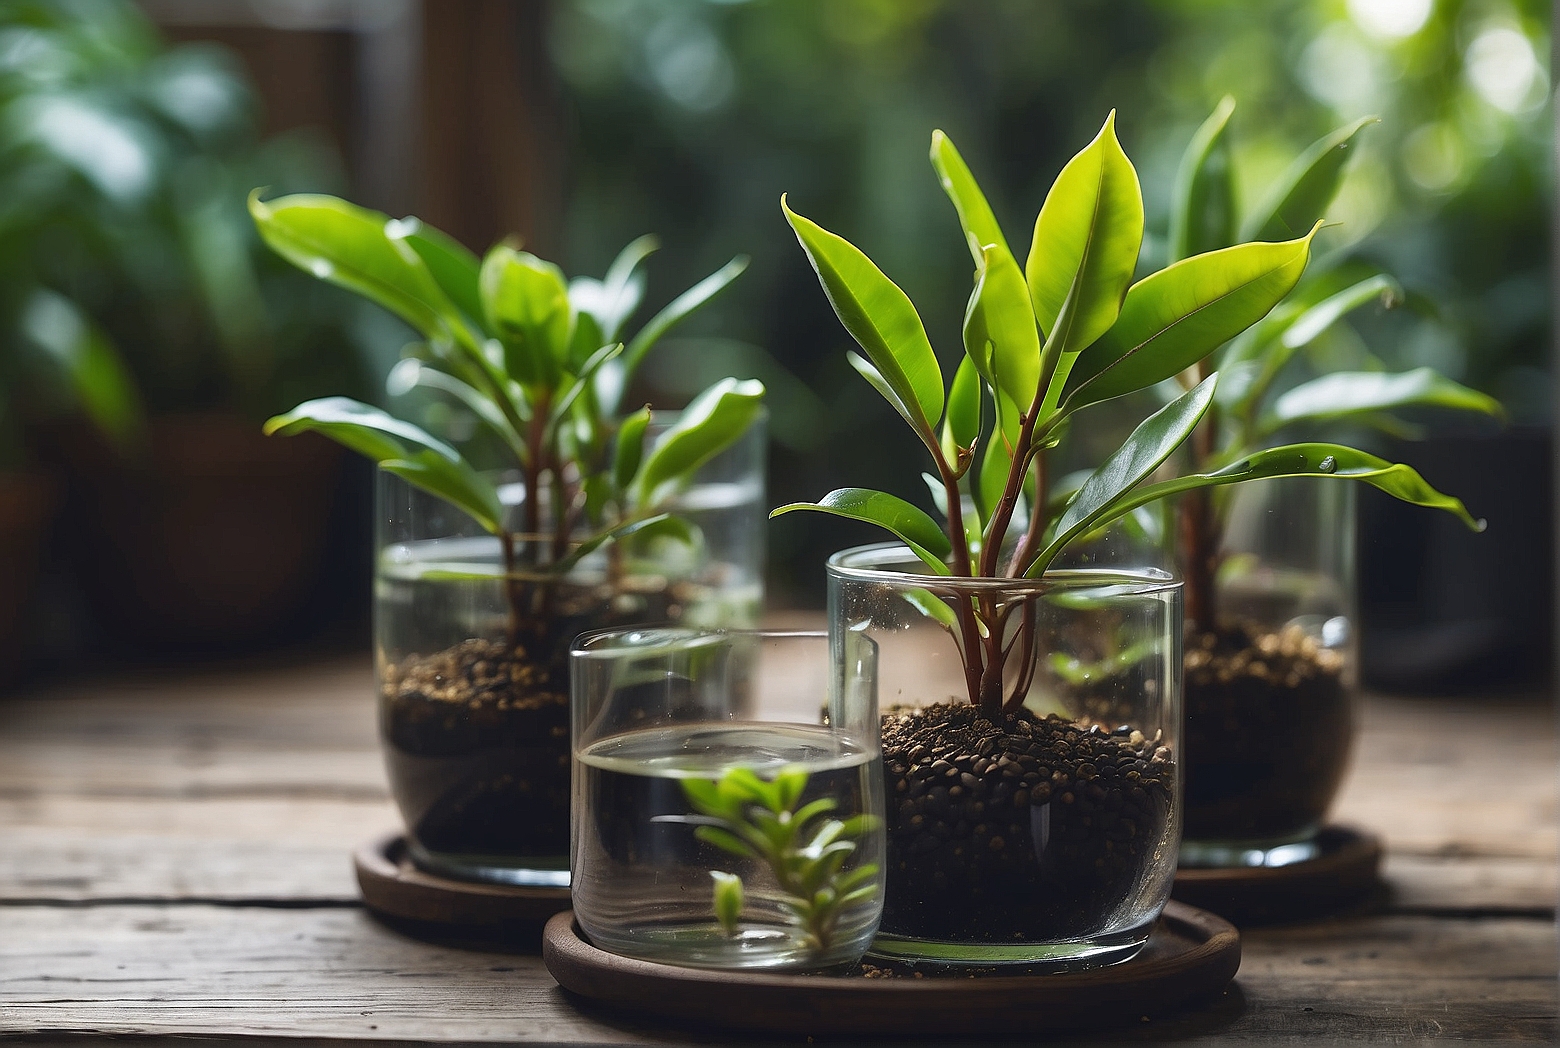
Now that the cutting has callused and the water is ready, it’s time to submerge the cutting in water. Place the cutting in the glass jar or vase, ensuring that the node is fully submerged in the water. However, make sure that the leaves remain above the water surface to prevent them from rotting. Position the jar or vase in a bright area with indirect sunlight, as ZZ plants thrive in well-lit conditions but can get damaged by direct sun exposure.
Step 7: Monitor and Maintain
Once the cutting is submerged, it is important to monitor and maintain its condition. Check the water level regularly and refill if needed to ensure that the node remains submerged. It is crucial to monitor the cutting for any signs of rot or mold. If any issues arise, remove the affected part and change the water to prevent further problems. Additionally, observe the leaves to ensure they remain healthy, adjusting the lighting if necessary to avoid any signs of stress.

Step 8: Wait for Root Development
Root development is a critical stage in propagating a ZZ plant in water. It may take a few weeks to a couple of months for roots to start developing. Observe the water for the appearance of white roots, indicating that the cutting is successfully establishing a root system. During this phase, it is vital to exercise patience, as ZZ plants can take time to develop roots. Avoid disturbing the cutting during this period to allow it the best chance to grow roots.
Step 9: Transplant the Cutting into Soil
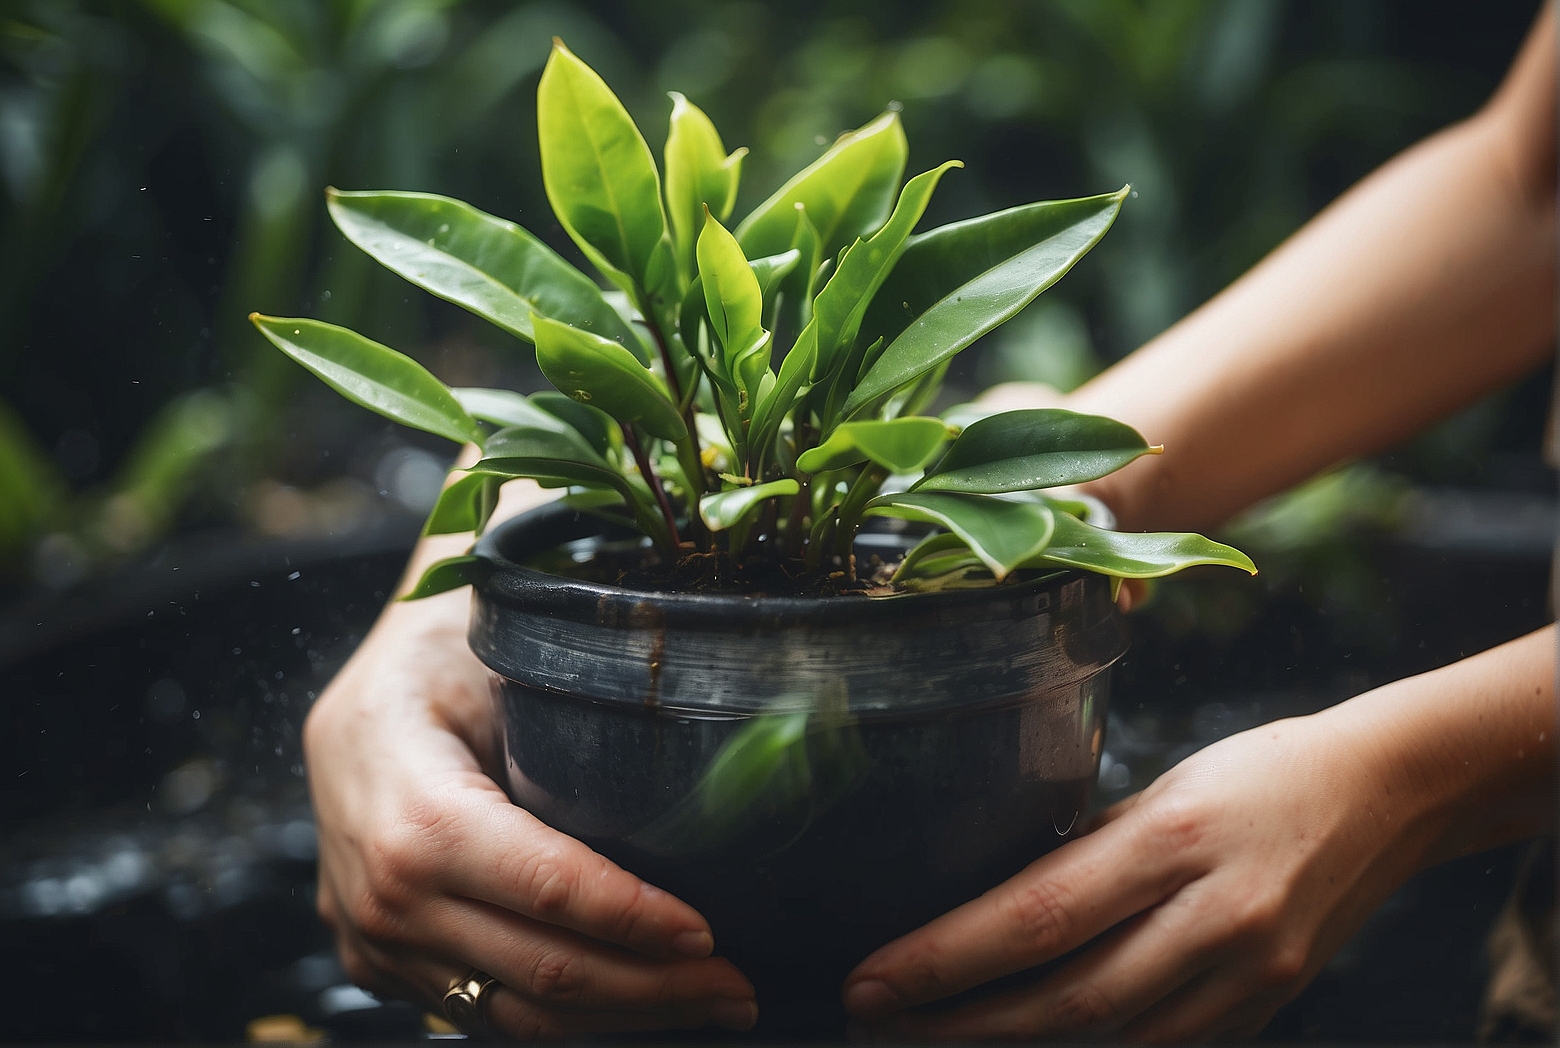
Once the cutting has developed a robust root system, it is ready to be transplanted into soil. Allow the roots to grow to a few inches long before proceeding with transplantation. Choose a well-draining potting mix suitable for ZZ plants to ensure proper moisture levels. Dig a hole in the soil and carefully transfer the rooted cutting, making sure the roots are covered and stable. Gently press the soil around the cutting to secure it in place.
Step 10: Provide Adequate Care
After transplanting the rooted ZZ plant cutting into soil, it’s crucial to provide adequate care for its growth. Place the potted ZZ plant in a bright location with indirect sunlight, as mentioned earlier. This will ensure that it receives the right amount of light to thrive. Water the plant only when the top inch of soil feels dry, as ZZ plants prefer slightly dry conditions. Overwatering can lead to root rot, so it is important to avoid excessive watering and ensure proper drainage.
In conclusion, propagating a ZZ plant in water can be a rewarding and exciting process. By following these ten steps, you can successfully propagate a healthy ZZ plant cutting and watch it grow into a thriving plant. Remember to select a mature cutting, prepare the necessary tools and materials, take the cutting properly, allow it to callus, and submerge it in water. Monitor and maintain the cutting’s condition, wait for root development, and transplant it into soil once roots have developed. Finally, provide adequate care by placing it in a bright location with indirect sunlight and watering it appropriately. With patience and care, you can enjoy the process of propagating a ZZ plant and witness its growth and beauty in your home.
Tony Manhart is a passionate gardener who has been tending to gardens for over 20 years. He takes pride in creating beautiful outdoor spaces with plants, trees, and shrubs that can thrive in any environment. He loves to share his knowledge with others and has taught classes on gardening basics and advanced techniques. He is committed to sustainability, using natural and organic methods to create and maintain gardens. He also works with local organizations to create green spaces for communities. When he’s not gardening, Tony enjoys hiking, reading, and spending time with his family.


