Last Updated on December 6, 2021 by
You might not be fond of learning how to trim Iris plants, but it releases the full potential of the flowers, along with proper planting and nurturing. Trimming these flowers is essential and done on two occasions every year. Haven’t done it so far? Or maybe you’ve cut it wrong and killed the plant. Read along to learn when and how to trim your irises.
How To Grow Prolific Iris Plants
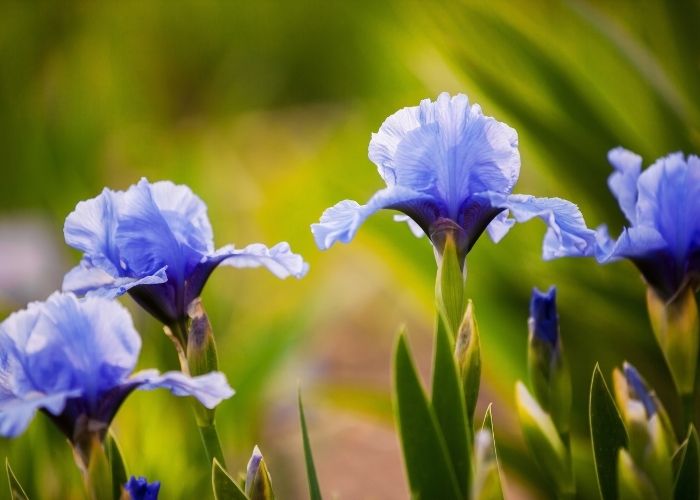
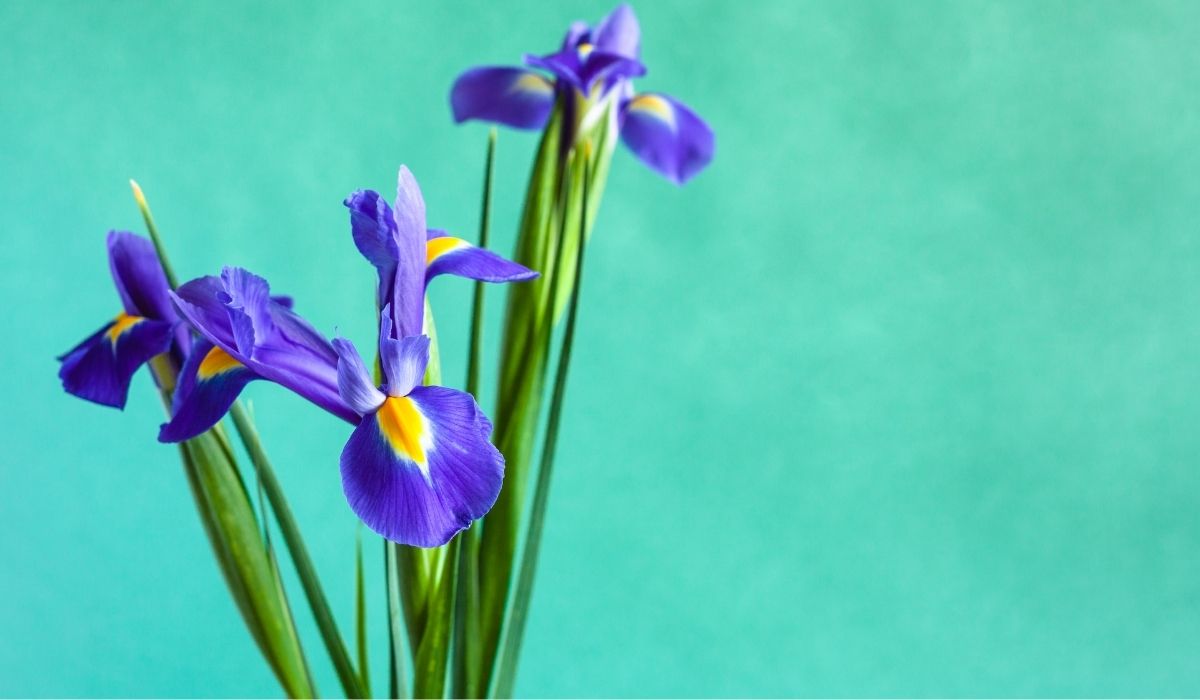
Irises are special plants with unique blooms. These majestic flowers got their name after the Greek goddess of the rainbow. There are hundreds of species, but the most cultivated is the tall bearded iris, botanical name Iris germanica.
Irises are overall easy to grow and produce a good yield of blooms as long as you provide good care. Plant them in late summer or early fall when the night temperatures are between 40°F to 50°F. Look for a spot that gets a full day of sunshine as irises won’t bloom in the shade.
Irises need well-draining neutral or slightly acidic soil. They require frequent watering but don’t tolerate wet soil in winter.
Irises do best when planted further away from other plants. If you have enough space, build an iris bed. They make perfect cut flowers.

When To Cut Back Irises
Irises bloom in early summer. Some hybrid kinds can flourish again by the end of summer, but they’re rare. The ideal time to trim iris plants is after the flowers are spent.
Wait for 3 to 4 days after the flowers have wilted. Then take a pair of sharp pruning shears and follow the flower stalk right to the base. Chop the whole stalk but make sure you cut it at an angle. If you cut it flat, water will gather at the surface leading to decay of the crown. When cut at an angle, the water will slide off.
Iris Pruning: Is It Necessary?
It’s vital to trim iris plants because of 3 reasons: to keep them neat, avoid pests, and prevent diseases.
Keep The Iris Tidy
Pruning the iris after it has bloomed will make the plant look tidy. There’s no reason to keep the flower stalks as they won’t produce flowers again. You should leave the foliage as it provides food for the plant. But after the first couple of frosts, you can trim any damaged, yellow, or foliage with holes. Throw the cuttings in the trash, not in your compost, as they might carry a pest or disease.
Prevent Diseases
Trimming irises prevents diseases like botrytis, leaf spot, bacterial leaf blight, and soft rot. These diseases attack the foliage as well as the crown. As a result, the leaves become spotted, yellow and the rhizome might turn soft. Almost all diseases are a result of a damp or humid environment. To avoid them, the irises need enough air circulation. You can do this by removing unuseful stalks.
Trim the iris as soon as you notice discoloration, and make sure to cut it closer to the rhizome. Do a preventative trim 2 to 3 times during the summer. It’s best to relocate any sprinklers near the iris. While we can’t control the rain, we can at least stop watering the iris from above.
Trim Iris Plants To Avoid Pests
The biggest threat to irises is the Iris borer. This pest feeds on the iris foliage and lays its eggs on it in late summer. The eggs spend the winter on the foliage, and as spring comes, they evolve into miniature caterpillars. Iris borers eat their way from the leaf into the rhizome. This leads to rotting and unpleasant smells around the plant.
As fall comes, trim all foliage and discard it in the trash. If you find that the pest has already affected the crown, dig it out and throw it away.
Do You Dead Head Iris?
With most blooming plants, you remove the spent flowers almost daily to make space for new blooms. You trim right below the flower or remove the dry petals by hand. But since irises flourish only once a year, there’s no need to remove each flower individually.
Instead, you take your shearers and cut the whole flower stalk at the base. Trimming instead of deadheading the iris makes it look tidier and exposes the blooming flowers.
Additional Care Tips For Irises
Trimming, although a significant part, it’s not enough to keep your irises thriving. Proper care and regular maintenance play a big role too. Here are some bonus tips.
- Trim the irises before transplanting, leaving only 6 to 9 inches of foliage. This way, the newly transplanted plant’s roots will settle quicker as they don’t have to carry an entire plant.
- Keep the rhizome slightly above the soil. It benefits from the sun and needs air to keep it dry. When shoved deep into the ground or surrounded by other plants, it might rot.
- In winter, cover the rhizome with sand and evergreen boughs. This will keep the rhizome dry, protected but not suffocated. Remove the protecting layer in early spring.
- As soon as you notice dark watery trails on the leaves, cut those leaves and throw them in the trash. These are signs of Iris borers. Closely monitor the plant. If it starts rotting, you might need to remove it so the borers won’t affect the other plants.
- Irises are deer and rabbit-proof; you can plant them even if you often have these visitors. Deer find the irises stinky! Irises and their rhizome are poisonous to rabbits, so they avoid them.
Bottom Line – How To Trim Iris Plants
Trim iris plants after they’ve bloomed and a second time after the first harder frost. Irises bloom once a season, so there’s no reason to keep the flower stalks. Leaves can serve as a hiding place for Iris borers and their eggs during winter. As they’re likely to kill the plant, it’s best to trim the foliage to the base.
Always cut at an angle to avoid water retention at the base and eventual decay. Remove leaves with signs of disease as soon as you spot them. Perform a preventative trim during June and July to improve air circulation around the plant.
Do you trim your irises? Share these tips with an iris lover!
Mary is a passionate gardener who loves spending her days getting her hands dirty and nurturing her plants. She‘s an avid reader of gardening magazines and is always looking for new ways to make her garden thrive. When not outside tending to her plants, Mary can be found inside reading up on the latest gardening trends, comparing notes with fellow gardeners, and finding the perfect pottery planter for her next planting project.


