Last Updated on March 28, 2024 by Tony Manhart
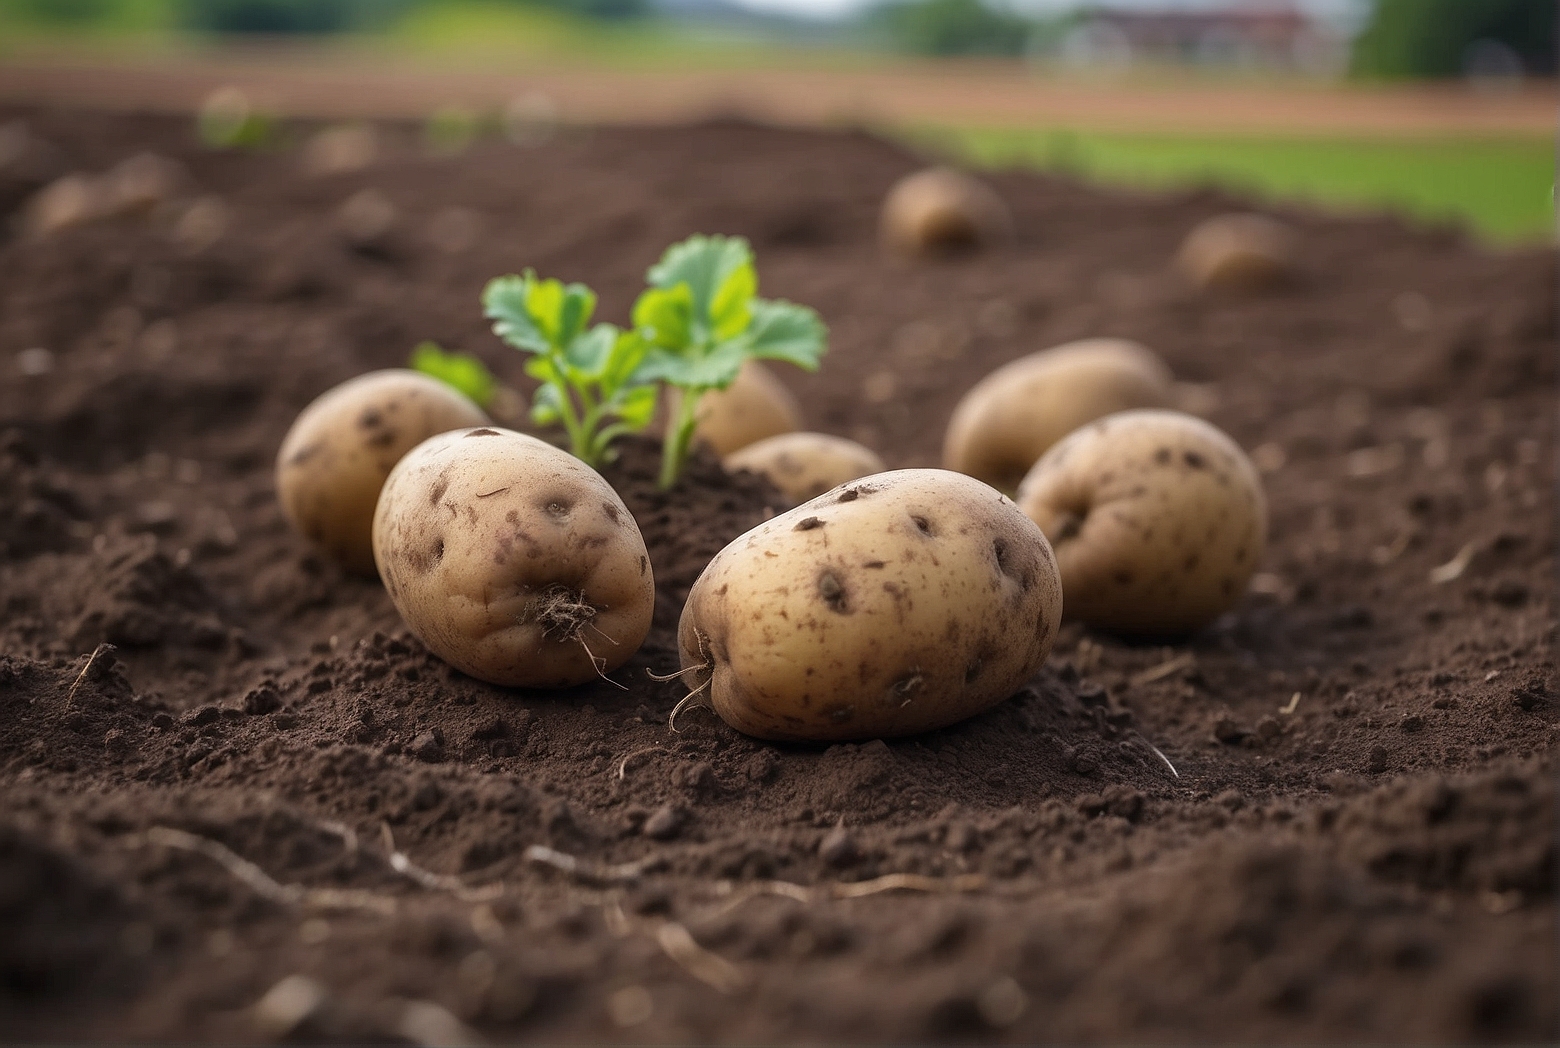
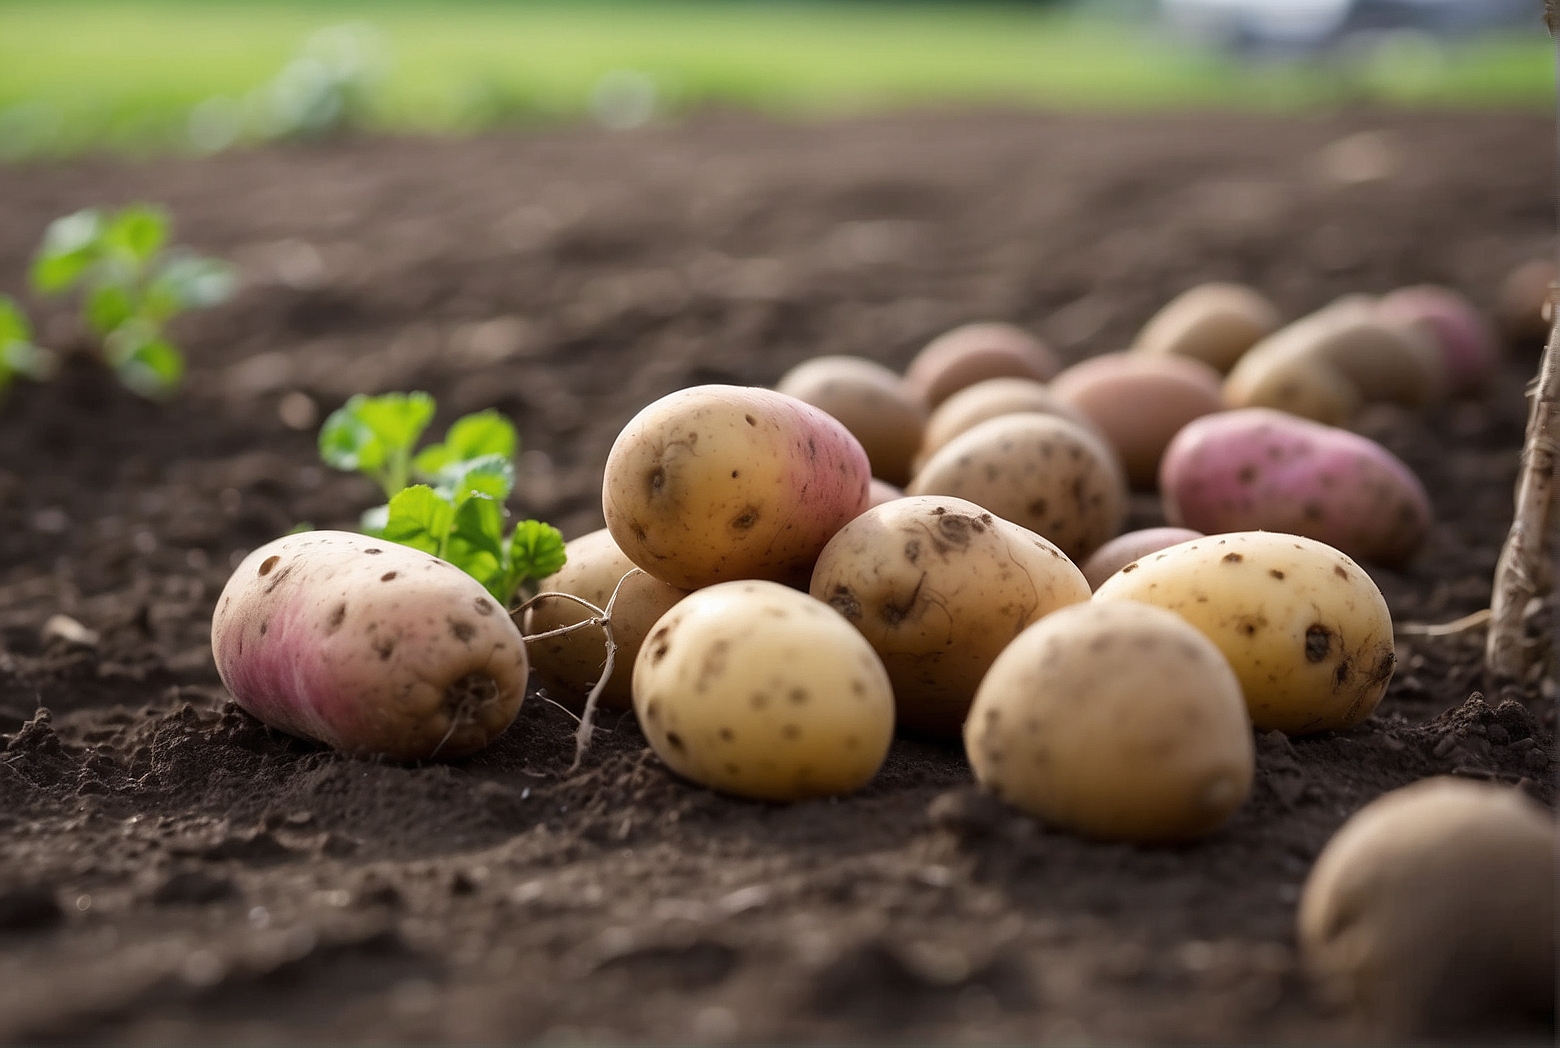
Ready to become a green-thumbed expert in potato cultivation? Look no further than our comprehensive guide on planting determinate potatoes. This step-by-step article will walk you through the entire process, from selecting the perfect potato variety to harvesting your delicious spuds. Whether you’re a seasoned gardener or just starting out, this guide will have you brimming with confidence in no time. So grab your gardening gloves and let’s get digging!
Choosing Potato Varieties
When it comes to choosing potato varieties for your garden, there are a few factors to consider. One important consideration is whether to select determinate potato varieties. Determinate varieties are known for their compact growth habit and tend to have a shorter growing season. This can be advantageous if you have limited space or if you live in a region with a shorter growing season. Determinate potatoes can also be a good choice for beginner gardeners, as they are generally easier to care for and harvest.
Another factor to consider when selecting potato varieties is yield and maturity. Different varieties can produce varying amounts of potatoes, so it’s important to choose a variety that will meet your needs. Also, pay attention to the maturity date of the potatoes. Some varieties mature earlier than others, which is especially important if you have a specific timeline in mind for harvesting your crop.
Lastly, checking disease resistance is crucial when choosing potato varieties. Different varieties have varying levels of resistance to common potato diseases such as late blight, early blight, and scab. By choosing disease-resistant varieties, you can reduce the risk of losing your entire crop to these destructive diseases.

Preparing the Soil
Before planting your potatoes, it’s essential to properly prepare the soil. This will provide an optimal growing environment for your plants and help ensure a successful harvest.
Start by clearing the planting area of any debris, rocks, or weeds. Potatoes thrive in loose, well-drained soil, so it’s important to remove any obstacles that could impede their growth.
Next, loosen the soil by tilling or digging. This will help create a loose and friable soil texture, which is ideal for potato cultivation. Avoid compacting the soil during this process, as potatoes need loose soil for their tubers to develop properly.
To improve the soil’s fertility and structure, consider adding organic matter or compost. Organic matter helps retain moisture, improves drainage, and provides a steady supply of nutrients as it decomposes. Spread a layer of organic matter, such as compost or well-rotted manure, and work it into the soil before planting your potatoes.

Chitting or Pre-Sprouting Potatoes
Chitting, also known as pre-sprouting, is a simple yet effective step to give your potatoes a head start before planting. It involves encouraging the potatoes to sprout shoots before being planted in the ground.
To start, select healthy seed potatoes that are certified disease-free. Seed potatoes should be firm, with multiple eyes or buds. Avoid using potatoes from the grocery store, as they are often treated with growth inhibitors that prevent sprouting.
Place the seed potatoes in a cool, well-lit area, such as a windowsill or greenhouse. Ensure that the potatoes are not exposed to direct sunlight, as this can cause them to turn green and produce harmful solanine.
Allow the potatoes to sit for a few weeks, checking regularly for sprouting. Once sprouts are approximately 1-2 inches long, they are ready to be planted in the garden.
Cutting Seed Potatoes
Before planting, it’s common practice to cut larger seed potatoes into smaller pieces. This helps maximize the number of plants you can grow and ensures a more uniform crop.
Start by selecting seed potatoes that are of the appropriate size. Ideally, each seed potato should be about 2-2.5 inches in diameter and have at least one visible eye or bud. Avoid using very small or large potatoes for this process.
Using a clean and sharp knife, carefully cut the seed potatoes into smaller pieces. Each piece should be approximately 1-2 inches in size and should contain at least one eye or bud. Ensure that each piece has a good portion of flesh and skin, as this is necessary for successful growth.
After cutting, allow the seed potato pieces to air dry for a few hours. This drying period helps create a protective layer on the cut surfaces, reducing the risk of rotting once planted in the soil.
Curing Seed Potato Pieces
After cutting the seed potato pieces, it’s important to allow them to cure or dry before planting. This step helps prevent potential rotting and allows the cut surfaces to form a protective layer.
Place the cut seed potato pieces in a cool, dry, and well-ventilated area. Avoid areas with high humidity or direct sunlight, as this can promote rotting. Allow the seed potatoes to cure for approximately 2-3 days.
During the curing process, the cut surfaces will develop a slightly tougher layer, which helps protect the potato pieces during planting and initial growth. This layer also acts as a barrier against fungal and bacterial infections.
Spacing and Planting Potatoes
Proper spacing is crucial when planting potatoes, as it allows the plants to receive adequate sunlight, nutrients, and airflow. When planting, follow these steps to ensure optimal spacing and planting depth.
First, determine the recommended planting depth for the potato variety you have chosen. Generally, planting depth is around 4-6 inches deep. Dig a trench or furrow in the prepared soil, ensuring that it is deep enough to accommodate the planting depth.
Next, space the seed potato pieces at the recommended distance. Typically, pieces should be spaced 12-15 inches apart, with rows spaced 24-36 inches apart. This spacing provides ample room for the potatoes to grow and prevents overcrowding, which can lead to smaller tubers and disease spread.
Place the seed potato pieces into the trench or furrow, cut side facing down, and ensure they are evenly spaced. Cover the potato pieces with soil, gently but firmly pressing down to eliminate air pockets. The soil level should be slightly higher than the original ground level to allow for settling.
Watering and Mulching
Proper watering is crucial during the early stages of potato growth. After planting, water the newly planted potatoes thoroughly to ensure proper hydration. The soil should be evenly moist but not waterlogged, as excess moisture can lead to rotting and disease.
Once the potatoes have sprouted and established, it’s time to apply mulch around the plants. Mulching helps conserve moisture, suppress weed growth, and regulate soil temperature. Use organic mulch, such as straw or shredded leaves, and apply a layer of approximately 2-3 inches thick around the plants. Ensure that the mulch is not touching the stems or leaves, as this can promote rotting and pest infestation.
Providing Support
Some potato varieties, particularly taller ones, may require support to prevent the plants from toppling over or being damaged by strong winds. Stakes or trellises can be used to provide support and ensure the plants grow upright.
Before the potato plants grow too tall, insert stakes or set up a trellis system. Place the supports at regular intervals along the rows, positioning them securely in the ground to prevent instability.
As the potato plants grow, gently tie the main stems to the supports using soft gardening twine or fabric strips. This will help keep the plants upright and protect them from wind damage.
Fertilizing Potatoes
To encourage healthy growth and maximize yield, it’s important to fertilize your potato plants. However, it’s crucial to apply balanced fertilizers and avoid excessive nitrogen, as this can lead to excessive foliage growth and reduce tuber formation.
Before planting, incorporate a slow-release organic fertilizer into the soil. This will provide a steady supply of nutrients throughout the growing season. Alternatively, you can use a balanced granular fertilizer according to the package instructions.
Once the potato plants have sprouted, you can apply a side dressing of fertilizer. Use a balanced fertilizer with equal amounts of nitrogen, phosphorus, and potassium. Apply the fertilizer in a narrow band along each side of the rows, taking care not to directly contact the plant stems.
Harvesting Potatoes
Determining the right time to harvest your potatoes is crucial for obtaining the best flavor and texture. Harvesting too early can result in underdeveloped tubers, while delaying harvest can lead to larger, but potentially overripe, potatoes.
To determine the maturity of potatoes, monitor the plant’s growth and health. Once the plants begin to senesce, or die back, it’s a good indication that the potatoes are reaching maturity. The foliage will turn yellow and start to dry out.
Gently dig up the tubers, being careful not to damage them with garden tools. Start from the outer edges of the plant and work your way towards the center. Use your hands or a garden fork to gently lift the soil and expose the potatoes.
Once harvested, allow the potatoes to air dry for a few hours to cure the skin. Avoid washing them immediately, as this can increase the risk of rotting during storage. Once dry, store the potatoes in a cool, dark, and well-ventilated area to prolong their shelf life.
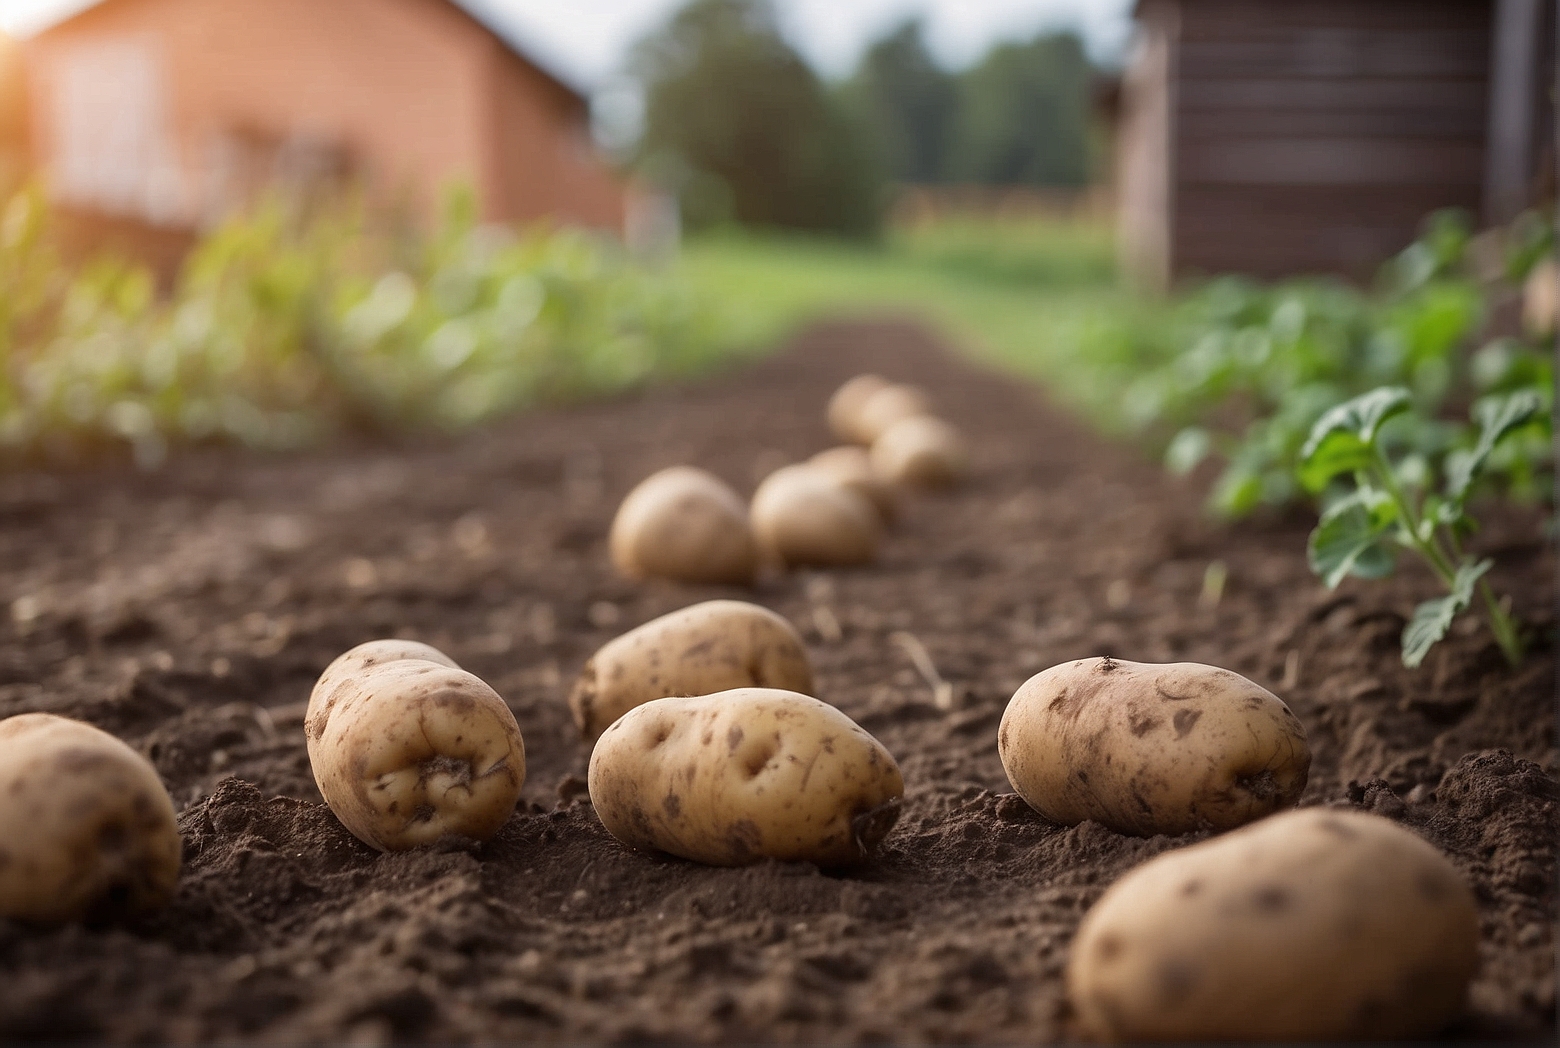
By following these steps and guidelines, you can successfully plant, grow, and harvest determinate potatoes in your own garden. Enjoy the satisfaction of growing your own potatoes and savor the delicious flavor of homegrown tubers!
Tony Manhart is a passionate gardener who has been tending to gardens for over 20 years. He takes pride in creating beautiful outdoor spaces with plants, trees, and shrubs that can thrive in any environment. He loves to share his knowledge with others and has taught classes on gardening basics and advanced techniques. He is committed to sustainability, using natural and organic methods to create and maintain gardens. He also works with local organizations to create green spaces for communities. When he’s not gardening, Tony enjoys hiking, reading, and spending time with his family.


