Last Updated on March 27, 2024 by Tony Manhart
Have you ever wondered how long it takes to propagate a snake plant in water? Well, the process of propagating snake plants in water is not only easy but also fascinating. By simply immersing a snake plant cutting in water, you can watch as it develops roots and eventually grows into a whole new plant. But how long does this transformative journey take? In this article, we will take a closer look at the propagation timeline of snake plants in water and discover just how quickly you can witness the magic of new growth taking place.
Choosing a healthy snake plant for propagation
When it comes to propagating snake plants, selecting a mature and healthy plant is the first step towards success. Look for a snake plant that is well-established and has several leaves. A mature plant will have a strong root system, making it more likely to develop roots during propagation. Avoid plants that appear weak, have damaged or yellowing leaves, or show signs of pest or disease issues.
Checking for pest or disease issues
Before propagating a snake plant, it’s crucial to ensure that it is free from any pests or diseases. Inspect the leaves and stem closely for any signs of insect infestations, such as aphids, mealybugs, or spider mites. Look out for yellowing or wilting leaves, discoloration, or unusual spots, as these may indicate the presence of diseases. It’s vital to address any pest or disease issues before proceeding with propagation to prevent their spread to the new plant.
Inspecting the foliage for any abnormalities
Another important aspect to consider when choosing a snake plant for propagation is inspecting the foliage for any abnormalities. Look for leaves that are uniform in color, without any spots, blemishes, or discoloration. Ensure that the leaves are firm and healthy-looking, as damaged or weak leaves may not yield successful propagations. By selecting a plant with pristine foliage, you increase the chances of producing thriving offspring.

Preparing the materials for propagation
Once you’ve chosen a healthy snake plant for propagation, it’s time to gather the necessary materials. Here’s what you’ll need to get started:
Gathering necessary tools
To propagate a snake plant in water, you’ll need a few basic tools such as a clean pair of pruning shears or scissors. Make sure your tools are sharp and sanitized to prevent any potential for disease transmission. Using clean and sharp tools will ensure a smooth and accurate cut, promoting healthy propagation.
Choosing a suitable container
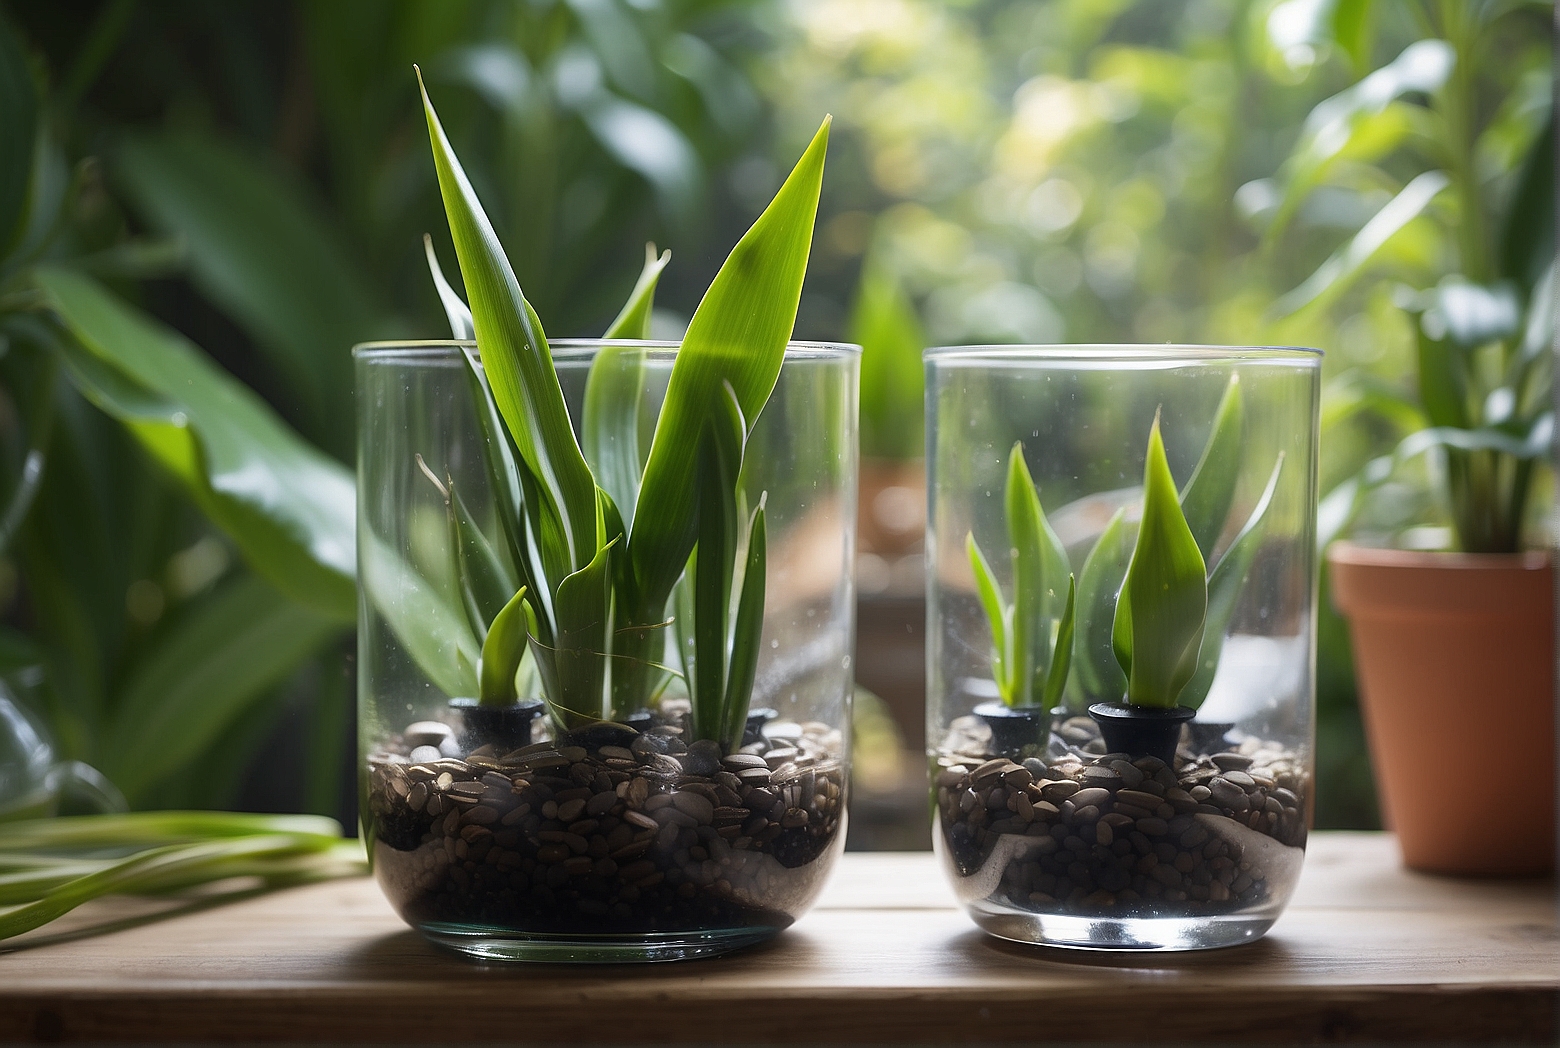
Selecting the right container is crucial for successful water propagation. Opt for a transparent container, such as a glass jar or a vase, that allows you to monitor the growth of the roots easily. The container should be tall enough to accommodate the length of the cutting and wide enough to ensure stability. Additionally, choose a container that can hold water without easily tipping over.
Preparing the water for propagation
Using clean, chlorine-free water is essential for the successful propagation of snake plants. Tap water often contains chlorine that can be harmful to the emerging roots, so it’s recommended to let the water sit out for 24-48 hours to allow the chlorine to dissipate. Alternatively, you can use filtered water, rainwater, or distilled water for the propagation process. Ensure that the water is at room temperature before placing the cutting for optimal root growth.

Steps for propagating snake plant in water
Propagating snake plants in water is a relatively straightforward process. By following these steps, you can increase your chances of successful propagation:
Identifying a suitable cutting
Look for a healthy leaf that has grown to its full length and has no signs of damage or disease. It’s essential to choose a leaf with a good amount of healthy green foliage to provide the necessary nutrients for root development.
Making a clean cut
Using disinfected pruning shears or scissors, make a clean cut as close to the base of the leaf as possible. Ensure that the cut is straight and smooth, without any jagged edges. A clean cut allows the cutting to heal quickly and encourages the development of roots.
Allowing the cutting to callus
Once the cutting is made, it’s important to let the cut end callus over before placing it in water. This process usually takes around one to two days and helps prevent the cutting from rotting in water. Place the cutting in a dry and well-ventilated area, away from direct sunlight, to facilitate the callusing process.
Placing the cutting in water
After the cutting has callused, it’s time to transfer it to the container filled with prepared water. Submerge the cut end of the cutting into the water, making sure that at least half of the leaf is above the waterline. This ensures that the leaf can continue to photosynthesize while encouraging root development in the submerged portion.
Monitoring the water level
During the propagation process, it’s essential to maintain the water level in the container. Make sure the cutting’s base remains submerged in water at all times, adjusting the water level as needed. Regularly check the water level to prevent it from drying out or becoming waterlogged. Remember to replace the water every two to three weeks to ensure optimal conditions for root growth.
Ensuring proper lighting and temperature
Snake plants thrive in bright, indirect light. Place the container with the cutting in a location where it can receive sufficient light without being exposed to direct sunlight, as it may scorch the leaves. Additionally, maintain a consistent temperature of around 65-75°F (18-24°C) to promote root growth. Avoid placing the container near drafts or heat sources.
Changing the water regularly
As mentioned earlier, changing the water every two to three weeks helps maintain its quality and prevent the accumulation of potentially harmful substances. Pour out the old water and replace it with fresh, room temperature water. This ensures that the cutting receives clean water with the necessary nutrients for healthy root development.
Waiting for root development
Root development can take anywhere from three to six weeks, depending on various factors such as temperature, lighting conditions, and the health of the cutting. During this period, it’s important to monitor the cutting regularly for any signs of root growth. Be patient and avoid disturbing the cutting unnecessarily, as this can disrupt the root development process.
Observing leaf growth
While waiting for roots to develop, it’s also essential to keep an eye on the leaves of the cutting. Healthy leaves will continue to grow and maintain their vibrant green color. However, it is common for the initial leaf to yellow or wilt as the cutting focuses its energy on root development. Don’t be alarmed if this happens, as long as new leaves continue to emerge and grow.
Factors influencing the propagation timeline
Several factors can influence the timeline for snake plant propagation in water. Understanding these factors can help you anticipate and adjust your expectations accordingly:
Temperature and humidity
Warmer temperatures and higher humidity levels generally promote faster root development. Providing a consistently warm and humid environment can expedite the propagation process. However, keep in mind that extreme heat or high humidity can also encourage the growth of fungi or bacteria, potentially harming the cutting.
Lighting conditions
Proper lighting is crucial for photosynthesis and overall plant health. While snake plants can tolerate lower light conditions, placing the cutting in a well-lit spot can encourage faster root development. Avoid exposing the cutting to direct sunlight, as it can scorch the leaves and impede propagation progress.
Quality and health of the cutting
The health and quality of the cutting itself play a significant role in the propagation timeline. Cuttings taken from healthy, mature snake plants with robust leaves and strong root systems are more likely to develop roots quickly. Weak or damaged cuttings may take longer to establish roots or might fail to propagate successfully at all.
Water quality
The quality of the water used for propagation can affect the development of roots. Using clean, chlorine-free water with the appropriate pH level supports optimal root growth. Poor water quality, such as water containing high levels of chlorine or minerals, can hinder root development and overall plant health.
Expected timeline for root development
Understanding the approximate timeline for root development during snake plant propagation can help manage your expectations and ensure you provide the necessary care accordingly.
Initial signs of root growth
After a couple of weeks, you may start seeing small white bumps or protrusions emerging from the base of the cutting. These are the initial signs of root growth and indicate that your propagation efforts are successful.
Root development at 2-4 weeks
Within two to four weeks, the small white bumps will continue to grow and develop into longer, more substantial roots. At this stage, you can gently tug on the cutting to check for root resistance. If you feel some resistance, it indicates that the roots are developing well.
Established root system at 6-8 weeks
By the sixth to eighth week, the snake plant cutting should have developed a robust and established root system. The roots will continue to grow and fill out the container. At this point, your cutting is ready to be transferred to soil for further growth.
Monitoring and caring for the growing plant
Throughout the propagation process, it’s crucial to monitor and care for the growing plant to ensure its continued health and success. Here are some key steps to follow:
Regularly checking water quality
As the snake plant cutting develops roots, regular monitoring of the water quality becomes crucial. Ensure that the water remains clean and free from any fungal growth or unpleasant odor. If the water becomes murky or starts to smell, replace it immediately with fresh, room temperature water.
Providing adequate lighting
As the plant grows, continue to provide it with adequate lighting. Place the propagated snake plant in a well-lit area with bright, indirect light to promote healthy leaf and root growth. Avoid exposing the plant to direct sunlight for extended periods, as it can lead to leaf scorching.
Maintaining appropriate temperature and humidity
Consistent temperature and humidity levels are important for the well-being of the growing snake plant. Aim to maintain a temperature range of 65-75°F (18-24°C) and humidity levels between 40-50%. Avoid exposing the plant to extreme temperature fluctuations or placing it near drafts or heating vents.
Pruning and repotting as needed
As the snake plant grows, it may require pruning to remove any damaged or yellowing leaves. Regularly inspect the plant for signs of pests or diseases and take appropriate action if necessary. Once the plant has developed a sufficient root system, consider repotting it into a larger container with well-draining soil to support further growth.
Transferring the propagated snake plant to soil
Once the snake plant cutting has developed a healthy root system, it’s time to transfer it to soil for continued growth. Follow these steps to ensure a successful transition:
Ensuring sufficient root development
Before transplanting your propagated snake plant, make sure the root system is well-established and filling out the container. Gently remove the plant from the water, being mindful not to damage the delicate roots.
Preparing a suitable potting mix
Choose a well-draining potting mix suitable for snake plants. A mix containing a combination of potting soil, perlite, and sand works well. Avoid using heavy or water-retentive soils, as they can lead to root rot.
Transplanting the cutting
Create a small hole in the potting mix and carefully insert the roots of the cutting. Gently backfill the hole, ensuring the plant is securely positioned. Lightly firm the soil around the base of the plant to stabilize it. Avoid burying the leaves too deep in the soil, as this can increase the risk of rotting.
Caring for the newly potted snake plant
After transplantation, water the newly potted snake plant thoroughly until water drains from the bottom of the pot. Place the plant in a well-lit area away from direct sunlight. Continue to monitor the plant for any signs of stress, such as wilting or yellowing leaves. Adjust watering frequency according to the environmental conditions and allow the plant to settle into its new home.
Common challenges and troubleshooting
While propagating snake plants in water offers numerous benefits, it’s essential to be aware of potential challenges and how to address them:
Root rot due to excessive moisture
Overwatering or poor drainage can lead to root rot, which can be fatal for snake plants. To prevent root rot, ensure that your container has adequate drainage holes and use a well-draining potting mix. Additionally, avoid overwatering by allowing the top inch of soil to dry out between waterings.
Yellowing or wilting leaves
Yellowing or wilting leaves can be a sign of various issues, such as overwatering, underwatering, or exposure to extreme temperatures. Assess the watering practices and environmental conditions to identify the cause of leaf issues. Adjust watering frequency and ensure proper temperature and lighting conditions to promote healthy leaf growth.
Pest or disease infestations
Even with careful selection and monitoring, snake plants can still fall victim to pests or diseases. Common pests include spider mites, aphids, and mealybugs. Inspect the plant regularly for signs of infestation, such as webbing, tiny insects, or leaf damage. Treat any pest or disease issues promptly using appropriate methods and insecticides if necessary.
Benefits of propagating snake plant in water
Propagating snake plants in water offers several advantages over other methods. Here are some benefits to consider:
Quicker and more observable root development
Propagating snake plants in water allows for faster root development compared to other methods. With the roots visibly growing in the water, you can easily track the progress and ensure successful propagation.
Easier monitoring of water and root health
Water propagation provides a clear view of the roots, making it easier to monitor their health and look out for any issues or abnormalities. Additionally, you can easily assess the condition of the water and make necessary adjustments to maintain optimal growth conditions.
Ability to propagate multiple cuttings simultaneously
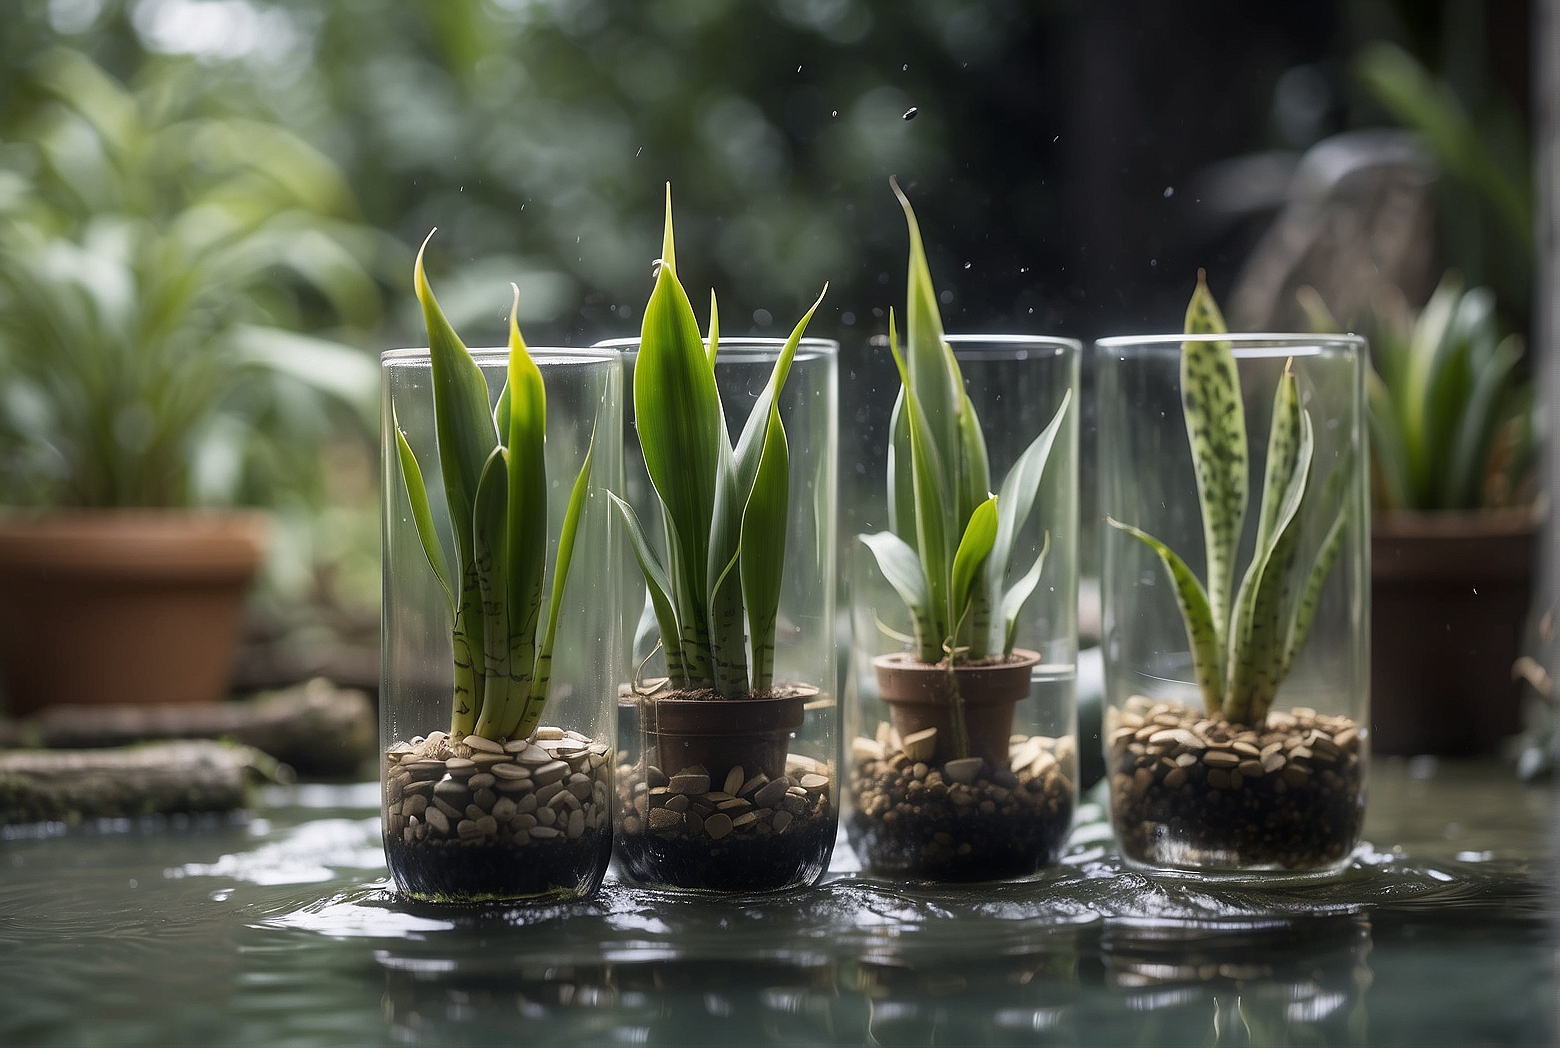
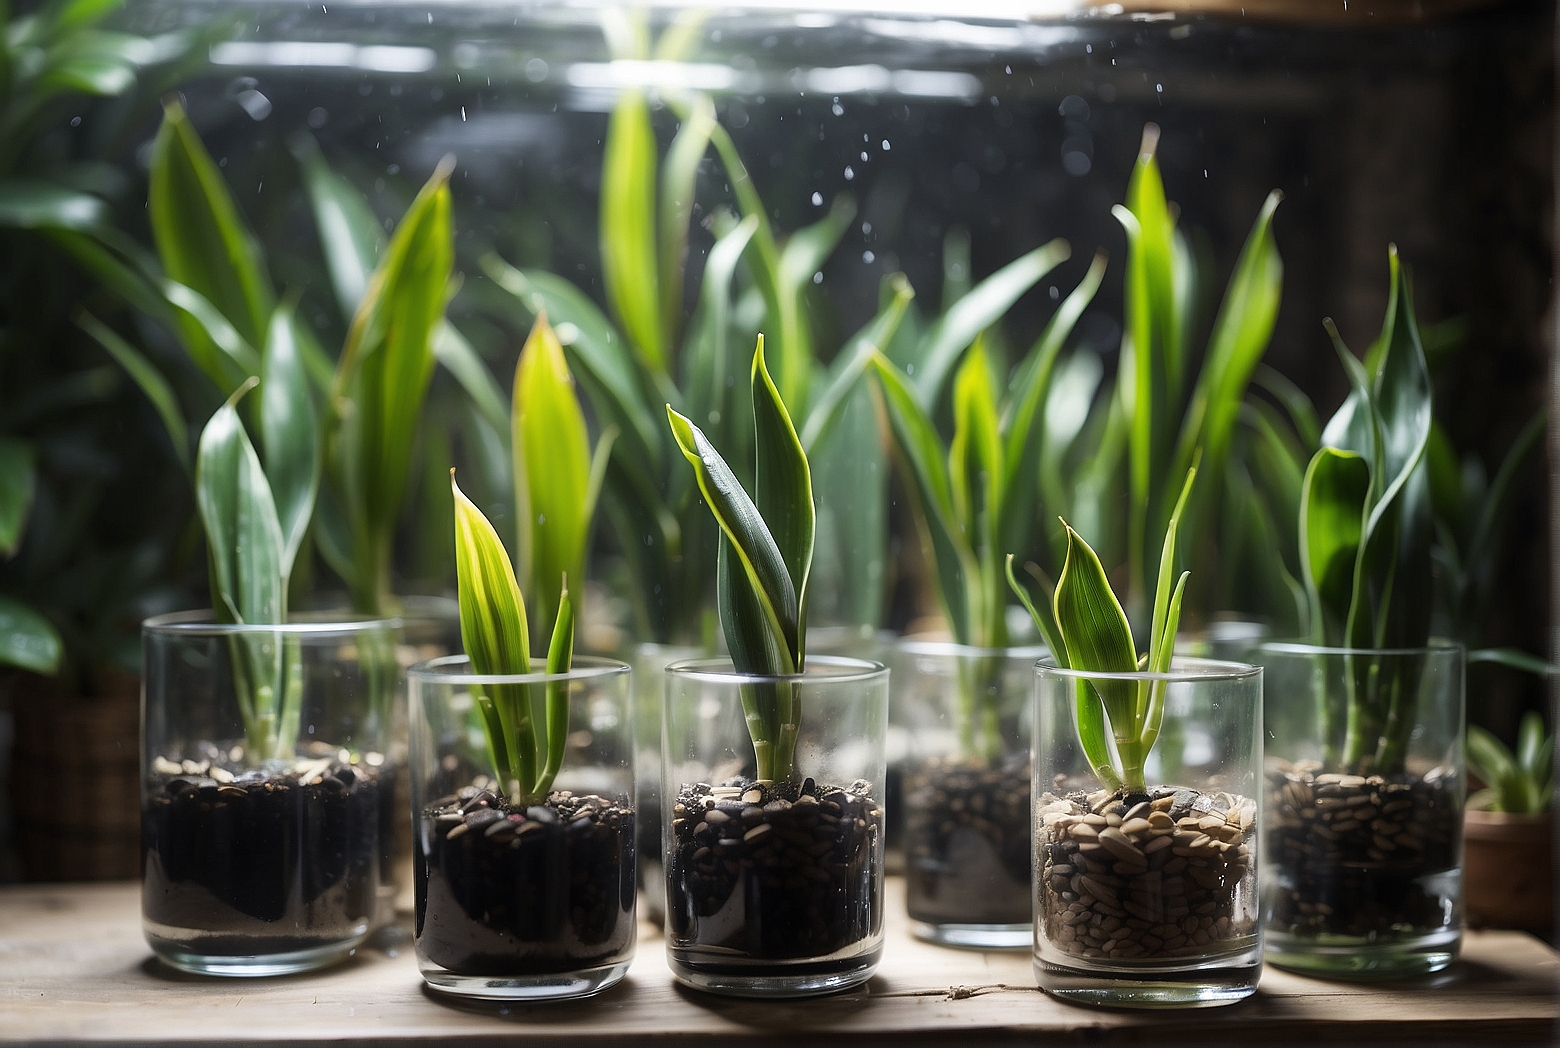
Water propagation allows you to propagate multiple cuttings at once. You can place several cuttings in separate containers and monitor their progress simultaneously. This offers an efficient way to propagate and expand your snake plant collection.
Conclusion
Propagating snake plants in water is a rewarding and relatively simple process that allows you to multiply your plant collection. By selecting a healthy plant, preparing the necessary materials, and following the step-by-step instructions for water propagation, you can enjoy the sight of new roots and growing leaves. Keep in mind the various factors, such as temperature, lighting, and water quality, that can influence the propagation timeline. With proper care and attention, you can successfully propagate snake plants in water and continue to enjoy their beauty and air-purifying benefits in your home. So go ahead, give it a try, and indulge in the joy of watching your snake plant family grow!
Tony Manhart is a passionate gardener who has been tending to gardens for over 20 years. He takes pride in creating beautiful outdoor spaces with plants, trees, and shrubs that can thrive in any environment. He loves to share his knowledge with others and has taught classes on gardening basics and advanced techniques. He is committed to sustainability, using natural and organic methods to create and maintain gardens. He also works with local organizations to create green spaces for communities. When he’s not gardening, Tony enjoys hiking, reading, and spending time with his family.

