Last Updated on December 28, 2021 by
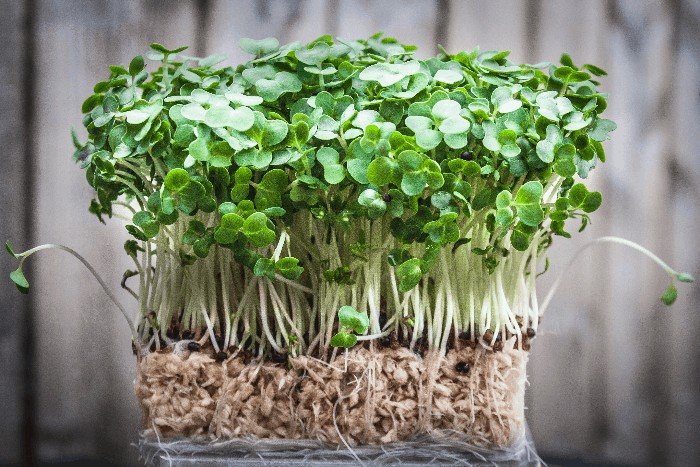
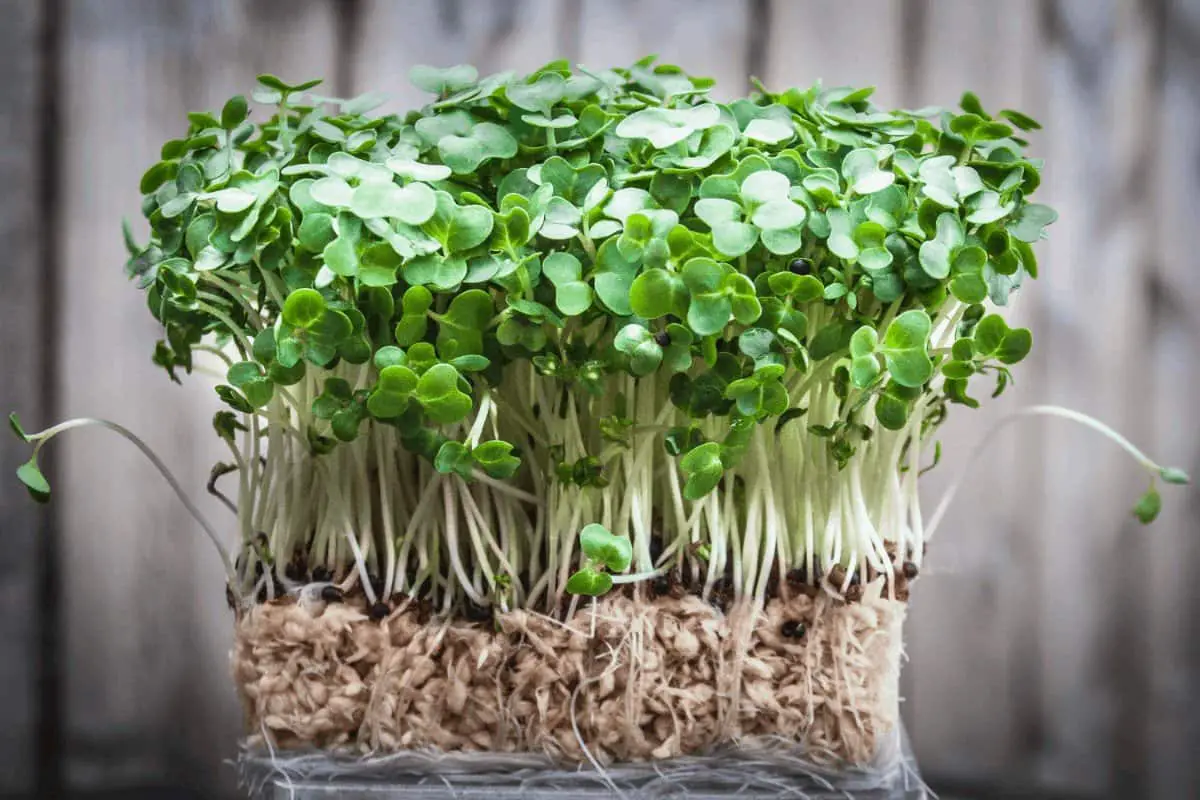
Just like the name watercress denotes, this plant is water-loving one and thrives nowhere else but where there is sufficient water content. It is an edible plant with a peppery taste and is best used in salad mixes. Watercress packs some nutritional value making it a healthy edible. It is rich in Iron, Calcium, folic acid, and some essential vitamins. Naturally, it grows along streams and waterways but most importantly, it also needs a little sunlight to thrive luxuriantly. It is revered as one of the oldest leafy vegetables known and used by humans and comes from the family of cabbage which is why using it in salads is healthy and tasty. Do you wonder on how to grow watercress?
It is also a perennial plant and can be grown in containers around your home. This option is important since you can’t possibly be going to waterways and streams to harvest watercress as they propagate in their natural habitat. While you can grow watercress from their seeds, this article will be showing you how to grow watercress from cuttings. Growing watercress from seeds or cuttings is practically the same method with just slight differences. The choice of container, pot, or any other water-based media is all yours to make.
With that foundation on watercress laid, let’s delve right into the details on how to grow watercress from cuttings.
How to Grow Watercress from Cuttings
Step 1: Purchase the Stem from a Grocery Store
Watercress is a household grocery leaf used for salads and sandwiches so it will be common in grocery stores. Head down to one of the stores and buy a substantial amount of the stems. The seeds can be gotten elsewhere but for the cuttings, they are very easy to get and a grocery store is an answer.
You need to find a healthy stem to use as cutting when purchasing. A healthy stem will produce healthy sprouts.
Step 2: Strip Back the Leaves
When you’ve gotten the stems, you need to strip off the leaves so you can know you are making progress when the new ones start to germinate. Stems are propagated bare or planted bare like cash crops.
Step 3: Provide the Enabling Environment for Growth (Pot or Container)
Now, this is the most important step. Watercress needs a waterlogged environment to grow and more significantly thrive.
It doesn’t need to be waterlogged, it can be flowing water, the background should just be made of water. This doesn’t mean the environment should be flooded or you should use an ocean. What you will be doing, in essence, is replicating the natural habitat for watercress in your home.
For starters, you can just do a little experiment: get a small bowl, a transparent one will be better. Pour a little water in it and place the stem cut inside. The water should be moderate and not consume the entire stem. Leave it after a couple of days and come back. Some leaves would have emerged from the stems and the watercress would have sprouted some new roots that are appreciable in length. You can use this to propagate the watercress.
This experiment would only suffice to prove to you that watercress needs a hydro-soil to thrive. When you’ve decided that you want to use a pot or container, then you can proceed to the next step.

How to Grow Watercress Step 4: Prepare the Media (Pot or Container)
Let’s say you are using a container. Pick a container that has some drainage outlets and is at least 6 inches deep. Include a layer of landscaper’s cloth at the base of the container. The essence of this is to prevent the soilless mix from leaving the environment when water is added.
Alternatively, you can use multiple small containers and house them all in a large drainage tray. If you are using a single large container, you will need to place it in a large drainage tray or bucket. If you are using large earthen pots you don’t need any drainage outlet, just place the pot in a pond or a waterlogged area.
You could be lucky to have such provisions in your garden where water resides or a fountain and that would make an excellent environment. Stagnant water has so many adverse potentials to the plant so you need to be changing the water in the drainage tray twice weekly.
You can include pebbles into the large drainage tray so the water can flow freely into the container. The large drainage tray will contain the water and not the container which is why there should be holes in the container so that the water can flow from the drainage tray into it.
The ideal PH of the container or pot should be within 6.5 and 7.5.
Step 5: Fill the Container with Soilless Mixtures
You don’t need earthen soil here, however, you can use a soilless mixture that drains very well. The soilless mixture should contain peat moss and vermiculite or perlite.
Step 6: Now Add the Stem Cuts
With all of the above in place, you can now add the stems into the whole mixture by placing them deep into the soilless mixture at a depth of ¼ inch.
Separate the stems from each other by three to four inches apart. Then water the entire combination to almost half the soilless mixture. Do not water until it exceeds the middle.
How to Grow Watercress Step 7: Provide Sunlight to the Plant
Plants need sunlight to survive and stay green. But here, you will not be giving the watercress full access to sunlight. You will be providing sunlight indirectly to it.
Place the watercress in a position where sunlight can get to it indirectly for at least six hours but never allow direct rays of the sun hit it else it can burn the feeble plant.
They are about the softest plants ever coupled with the fact that they are in constant moisture.

Conclusion
This method of growing watercress is for indoor purposes and different from the method used in producing a bountiful harvest of watercress. Fertilizers can also be added to enhance their growth and that is entirely optional. They can thrive well in their moist environment without the help of fertilizer. For emphasis sake, always remember to change the water in the drainage tray or large saucer that provides the stationery moist environment for the watercress to thrive.
FAQs
How do you grow watercress from scraps?
Growing watercress from scraps is a surprisingly easy way to grow your own greens. It can be done in less than a week and doesn't require much space.
To grow Watercress, you need a small pot that is about 2 inches deep. You will also need some seeds to plant the watercress into that pot so that the plant can get enough nutrients from the soil. To start growing watercress, you can either buy some or make your own using recycled materials like dirt, old leaves and fabric scraps.
How do you grow watercress without soil?
There are many ways to grow watercress without soil. One of the most popular methods is hydroponics, in which the water and nutrients are grown in thin layers on a tray.
The most important part of growing watercress without soil is having access to the surface of running water. The amount of sunlight this plant needs ranges from 6 hours a day and should be kept in the shade during other times of the day. This plant should also be kept approximately 60 centimeters away from other plants and its roots should not touch any other roots or rocks. This plant can produce flowers, leaves, stems and even seeds when grown properly; this process takes between six weeks and six months depending on how well it's cared for
You can also use aeroponics, which requires an air pump and an air stone to provide oxygen for the plants' roots.
Can you grow watercress in a garden pond?
With the help of the hydroponic system, this experiment will be able to grow watercress in a garden pond. The garden pond is filled with nutrient-rich water that allows for healthy growth and development.
While growing a plant in a garden pond may sound difficult, it is actually not that hard to do. There are many species which can thrive in this sort of environment.
Can you root watercress?
Well, it is not as easy as you might think.
It takes diligent watering and patience for your watercress plant to eventually produce roots. It takes around three months before the plant starts doing that on its own. But, if you want your seeds to sprout early, then you may need a little bit of assistance.
A few years ago, gardeners started using a rooting hormone in order to speed up this process. More recently though, they have been switching over to artificial rooting hormones that are more reliable and effective than their natural counterpart.
How do you germinate watercress?
Here are the steps to germinating watercress.
Step 1: Place the seed in a jar and fill it with clean water.
Step 2: Wet the seed before planting it into the soil.
Step 3: Cover seeds with a thin layer of soil.
Step 4: Water thoroughly before covering again with soil.
Step 5: After two weeks, remove the top 2 inches of soil and see if you have plants growing on top of the inch layer of soil that was left untouched by your finger nails or plants roots. If so, congratulations! You have successfully germinated your watercress seeds!
Tony Manhart is a passionate gardener who has been tending to gardens for over 20 years. He takes pride in creating beautiful outdoor spaces with plants, trees, and shrubs that can thrive in any environment. He loves to share his knowledge with others and has taught classes on gardening basics and advanced techniques. He is committed to sustainability, using natural and organic methods to create and maintain gardens. He also works with local organizations to create green spaces for communities. When he’s not gardening, Tony enjoys hiking, reading, and spending time with his family.


