Last Updated on May 25, 2022 by Griselda M.
Instead of replacing your hose because it leaks, it is best you learn how to fix a water hose leak using quick and easy techniques.
Your garden hose is a faithful tool that is best used for hydrating your garden or lawn or carrying out any exterior task that needs water. A leaky hose wastes water and makes your work more difficult, plus you only notice it when you have the job running.
Fortunately, it is easy to fix a water hose leak with smart and affordable DIY fixes that we have explained below. You can now extend its life instead of purchasing a new one each time you have a leak.
How to Fix a Water Hose Leak
The first and most important thing is to determine where the leak on your hose is coming from. This is not difficult to tell once you turn on the water; it will show the actual spot and the severity of the problem. It also tells you how much effort it will take to fix it. Here are different types of leaks and their fixing procedures
Find The Best Garden Hose Reel – Buyers Guide and Review
Ames Neverleak Poly Wall Mount Reel
Water Hose Repair- Small Leaks
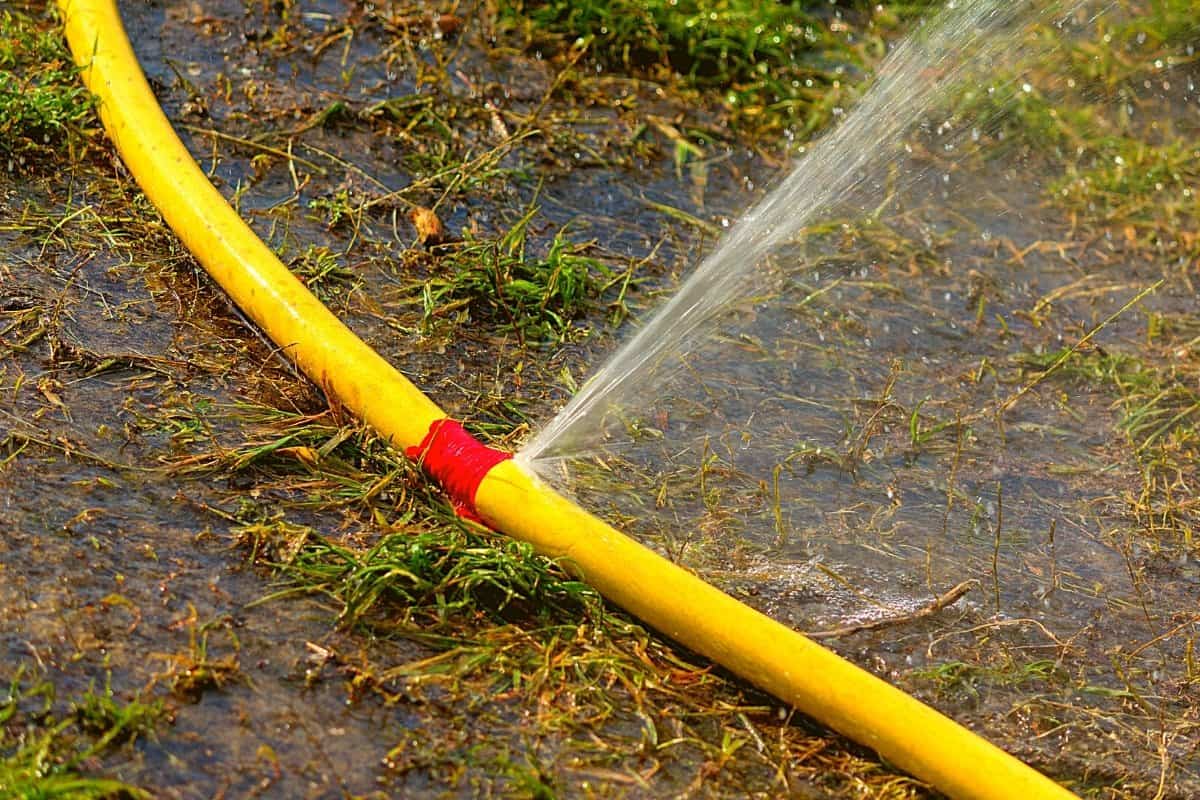
If the hose leak is releasing small gushes of water not strong enough to squirt you in the face, here are your mending options.
Option 1: Use a tire puncture repair kit. These are sold at the bicycle repair shops or car parts stores. Once purchased, read the directions carefully and apply the repair materials to the hole.
Option 2: Use the specifically designed hose repair tape or electricity tape. First, clean and dry the hose part that needs repair before application. Once dry, overlap the tape as you wrap it around the hose. Do not wrap it too tightly because the tape will not seal so that the hose will crease or fold.
Option 3: Use rubber cement for punctures and tears. First, clean and dry the area before applying rubber cement to and around the hole. Fill the leaking hole with the right amount of cement. Too much cement gets inside the hose and blocks the water path.
Garden Hose Repair- Large Leaks
A large leak requires more skill and time but is still possible to carry out. Large leaks require that you cut the leaking section out and replace it with a mender. Use a sharp blade always that will help you make a straight cut. Carry the cut part with you as you go to purchase the replacement part to be certain of the right part. The part will also greatly depend on whether you have a vinyl or rubber hose.
Step 1 – Carefully cut out the damaged portion of the hose on a straight line
Step 2 – Loosen the screws on the replacement coupler
Step 3 – Insert the cut ends of the hose into the side of the clamp mender. If the part is tough and difficult, rub a little soap on the area to make it a little slippery and pliable.
Step 4 – Tighten the screws until the clamp is tight enough that the water pressure cannot pull it out.
Step 5 – After the repair, be sure to turn the water on to test the outcome of the connection. Keep tightening the water until the water leaks no more.
Leaking Spigot
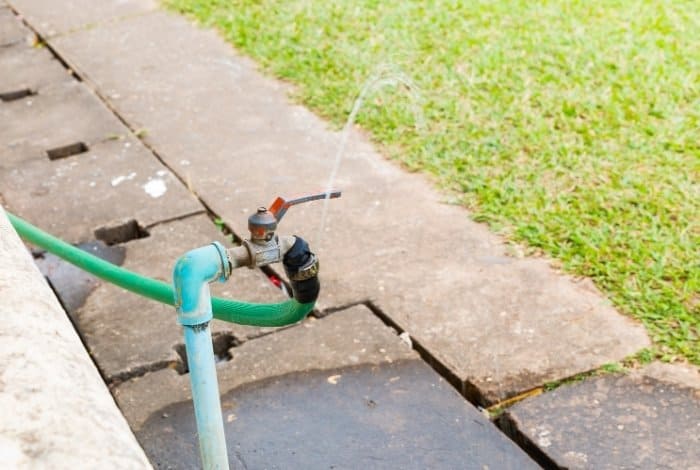
A leaking spigot is a clear sign that the washer is worn out and needs to be replaced. Washers wear out with age and constant use. To repair it, simply remove the old one and replace it with a new one. If it is still leaking, it means the coupling could be the problem. It may have gotten physically damaged if ran over by a lawnmower or any other piece of heavy equipment. In case the coupling is bent; it loses the watertight seal between the hose and the spigot, sprinkler, or nozzle causing a leak. Replacing it with a new one is ideal.

Conclusion – Repairing Leaky Hose
It’s not too difficult to spot a leak in a garden hose. In any case, it seems to always target to spray on your face. Having learned how to fix a water hose leak in the above guide, it’s best to remember protection is better than cure.
The best way to avoid always repairing your garden hoses is to protect them. Hoses do not like to be left under the hot sun for long, they break or crack. A well-taken care of hose will last you many years. Be sure to drain all the water out after use and keep it out of the sun. Coil it after use and replace the washers immediately if they show signs of dripping.
FAQs
How do you fix a leaky rubber hose?
Fixing leaks in rubber hoses may seem easy, but it's actually not easy at all as there are many ways in which these hoses can get damaged and become leaky, such as: over-inflating them, puncturing them, or being stored for too long without being used.
Can duct tape fix a water hose?
Most likely not.
Duct tape is sometimes just not enough, as it proves in this instance. Using this knowledge, you can avoid wasting your time and instead use a more effective method to repair your water hose.
What is the best tape to repair a garden hose?
When you need to repair your garden hose, you might be hesitant about what kind of tape you should use. The good news is that there are a few materials that work best for this task.
There are many different types of tapes to use for different purposes. Some tapes are not good for outdoor activities like gardening or construction. Here is a list of the best tapes for different applications:
*Electrical tape - It is not waterproof, but it does a great job of insulating electrical wires and cables.
*Gaffers tape - This one is really good for high-tension wires that need to be kept together because it's not going to come off on its own.
*Flexible duct tape - This one's a must if you're repairing or wrapping up something involving ducts that need to stay flexible and durable at the same time.
Many types of tapes can be used to repair a garden hose, but the best tape is one that has high tensile strength and adhesive power. It also needs to have a high heat resistance temperature, so it can endure hot weather and strong UV radiation.
The best tape is the 3M Scotch Garden Hose Tape because it has all of these qualities.
How do you fix a hose end?
Figuring out how to fix a hose is not complicated, but it can be time-consuming if you're not careful enough.
A hose-end tool can be made of different materials, but typically they are made of metal and are tube-shaped. They have teeth on them so that they can grip onto the pipe and pull it in towards the center of the tool. Once you get the hose completely inside, simply slide out the old pipe section and push in a new one.
If you decided to fix the hose end yourself, there are a few things you should know. A hose-end can be fixed in two different ways. The first one is if you have a store-bought hose and it has a crimped or kinked end. In that case, all you would need to do is loosen the kink and apply a little bit of force to push it back together. The second, much easier way is if your hose does not have any crimped or kinked ends but there are still some threads that look like they might be broken. If this is the case, then just pull the threads out of the broken section and then apply some tension by twisting the hose in your hand while pushing on the other end to ensure that they are tight enough to hold together.
Caroline is a gardener who loves to get down to the nitty–gritty of gardening. She proudly proclaims herself as a ‘dirt worshipper‘ and can often be found deep in the garden, covered in soil and singing to her plants. As a self–proclaimed ‘plant whisperer‘, Caroline believes that plants need love and attention just like any other living thing, and she loves to give them both. When she‘s not tending to her garden, you can often find her researching the latest gardening trends, or teaching others how to make their gardens thrive


