Last Updated on August 30, 2022 by Griselda M.
This is a guide on how to trim spider plant roots, removing the old unproductive roots and allowing the healthy ones to grow well. Trimming down the roots for snake plants is also important when repotting.
Be sure to remove all of the root hairs from the pot’s surface, including the sides and bottom. It is also a good idea to check your plants’ water regularly during hot weather and give them plenty of water.
This article will teach you how to trim spider plant roots by removing old roots and allowing healthy ones to grow well.
Potted Spider Plant Roots – Trim Spider Plant Roots
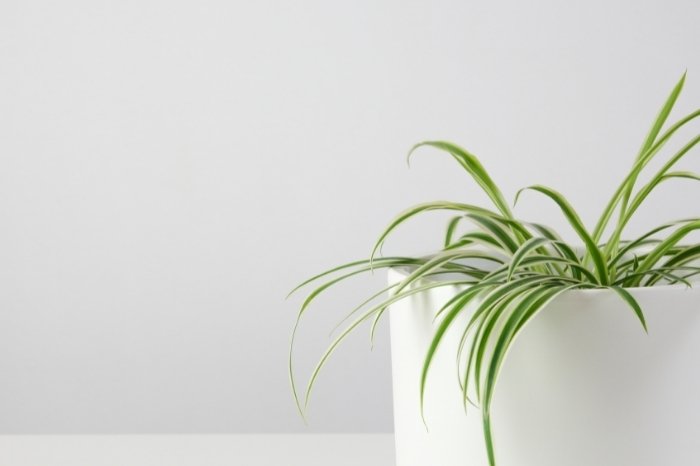
Spider plants are beautiful, low-maintenance plants that grow well indoors. Their ability to thrive in low light conditions makes them ideal for indoor spaces. They can be grown indoors in pots or containers.
A small pot will allow you to keep your spider plant in optimal size and shape. The pot should have drainage holes to prevent water from collecting on the surface.
If you are using a larger container, like a planter, add some pebbles to create a drainage area. Growing spider plants in pots or containers requires you to feed your plants regularly to ensure that they grow well. Feeding your spider plant once a week is enough for most of them.

However, if you notice your spider plant has become leggy, you can increase the feeding frequency. Spider plants tend to get large and ungainly in size if not properly trimmed. This is especially true when you grow your spider plants in a pot.
Check Out What Causes Snake Plant Scarring
How To Trim Spider Plant Roots
Step 1: Prepare For Re-potting
When you want to move your spider plants into their new home, you’ll want to prepare the new pot first. Provide a larger pot than the one you had it in before to allow more air circulation and grow room. It will also help prevent water from getting trapped in the pot and causing mold.
Step 2: Remove The Soil
Remove the plant and put it on a tray or newspaper. Take a small shovel or other gardening tools and carefully dig out the roots. It may take a few minutes to get them to loosen up.
Step 3: Cut The Roots Back
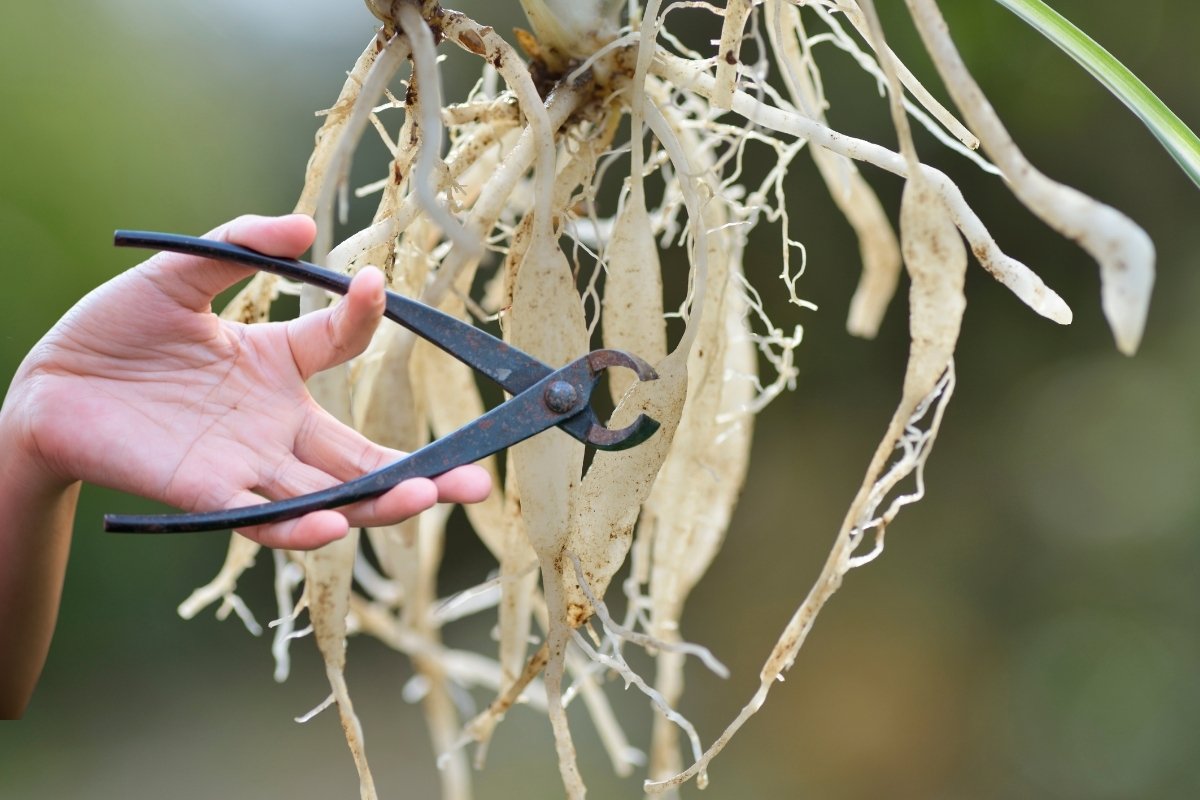
If you want to be really careful, you can use a sharp pair of garden shears to carefully cut the roots back. The goal is to cut them back about a half-inch. Trim the roots as best as you can.
Step 5: Re-pot The Plant
Put the plant into the prepared new pot and add some new potting soil. You can use a new bag of potting soil or a small amount of your original potting soil.
ETGLCOZY 5 Pack 6/4.1/3.2 Inch Self Watering Pots – Modern Decorative Plastic Planter
Step 6: Water The Plant
Make sure that the new soil is moist, but not soggy. If you want, you can also spray the plant with water at this point.
Step 7: Keep The Plant Happy
Keep the plant in a sunny spot and make sure that it gets plenty of light. As long as the roots are trimmed back, it should be fine.
Click Here to Get Info About:
Tips To Keep Your Spider Plants Healthy – Trim Spider Plant Roots
To keep your spider plant healthy, make sure that it has enough light. It needs 6 hours of direct sunlight per day.
If you live in a place with harsh winters, you may need to protect your plants from cold temperatures. You can do this by covering the pot with a clear plastic dome. You can also use a small fan to circulate air around the pot.
You should also give your spider plant nutrients and water regularly. You should water it about once every week. This will help it grow faster. Also, you should never let your spider plant dry out. If you do, the plant will start to wilt.
Spider plants are easy to grow. They grow well in hanging pots and baskets, and they do not need much water. However, if you live in a place with hot summers, you may need to protect your spider plants from the sun.
This is because they may get too hot when the sun is directly on them. You can do this by using a clear plastic dome to cover your spider plant pot. You should also use a small fan to circulate air around the pot.
In Conclusion – Trim Spider Plant Roots
Spider plants are a good choice for any indoor or outdoor plant. These plants make great houseplants, and they do not require much care. Spider plants grow very quickly and are easy to grow.
They will even grow in the shade. However, if you want to take care of your spider plant, you should always water it regularly as well as provide it with other ideal environmental conditions.
It is important to trim spider plant roots when repotting to allow the plant enough space to thrive and regrow new roots.
FAQs
Is it safe to trim plant roots?
Yes, it is safe to trim plant roots, especially when repotting the plant. In general, it is best to trim them before they start to grow out of the soil. If you wait until they are already growing out, you can cut them, but it will be harder for the plant to heal and recover.
Should you trim roots when repotting?
Yes, you should. You may not need to do this when you re-pot a plant, but only do it if neccessary.
How do you shave spider plant roots?
You can either use a pair of scissors or a pair of clippers. You can also use a knife, but that will take a lot more work.
What do you do with spider plant roots?
You can keep them in a water bath or you can plant them right away. The reason you would want to plant them right away is that they keep growing into new plants and take up space in your pot.
Caroline is a gardener who loves to get down to the nitty–gritty of gardening. She proudly proclaims herself as a ‘dirt worshipper‘ and can often be found deep in the garden, covered in soil and singing to her plants. As a self–proclaimed ‘plant whisperer‘, Caroline believes that plants need love and attention just like any other living thing, and she loves to give them both. When she‘s not tending to her garden, you can often find her researching the latest gardening trends, or teaching others how to make their gardens thrive


